")
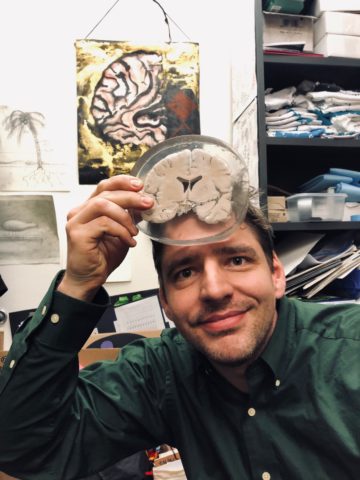
Post by artist, Noggin volunteer and PSU graduate Darrin Lane
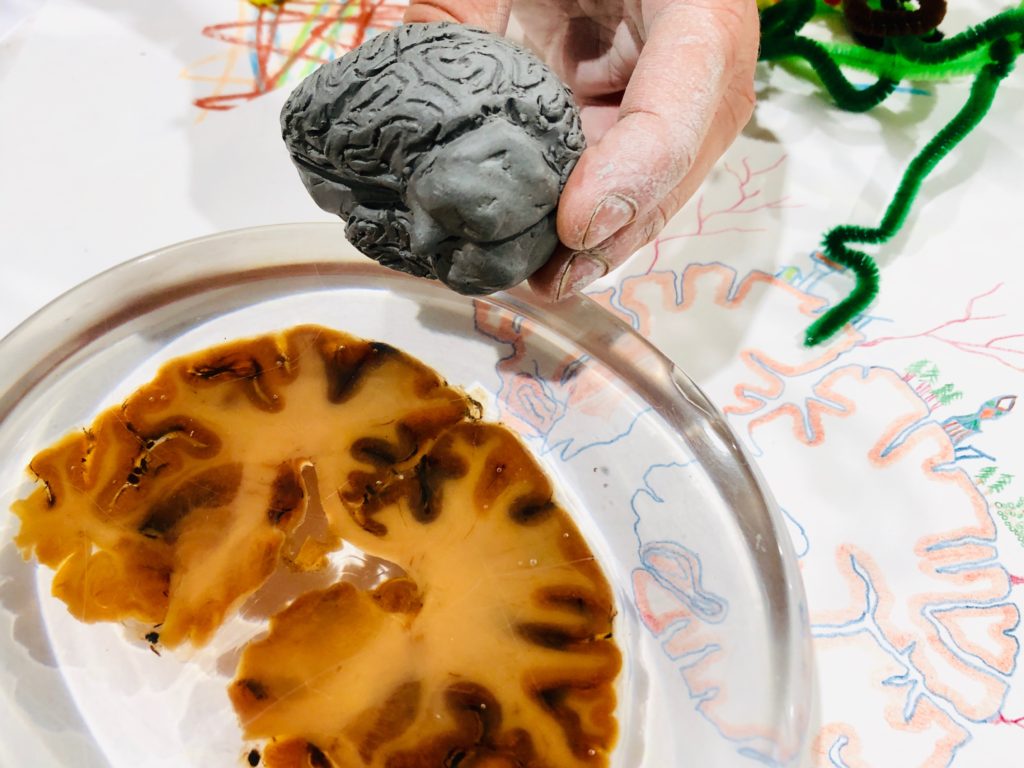
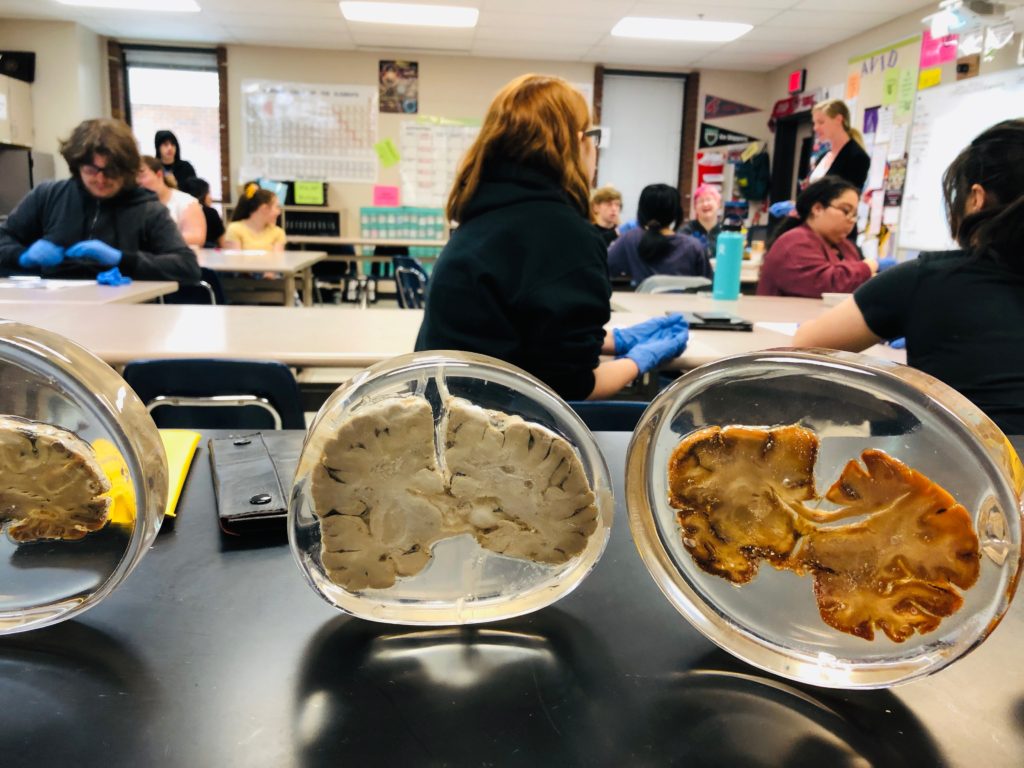
Holding a real human brain for the first time is an unforgettable experience, one that confronts you, directly, with the extraordinary physical underpinnings of your own thoughts, feelings, memories, dreams and personality. It encourages many young people to think deeply about the astonishing and ongoing development of billions of their own brain cells, with their trillions of synaptic connections, which fundamentally maintain, adjust and transform the networks of who we all are…
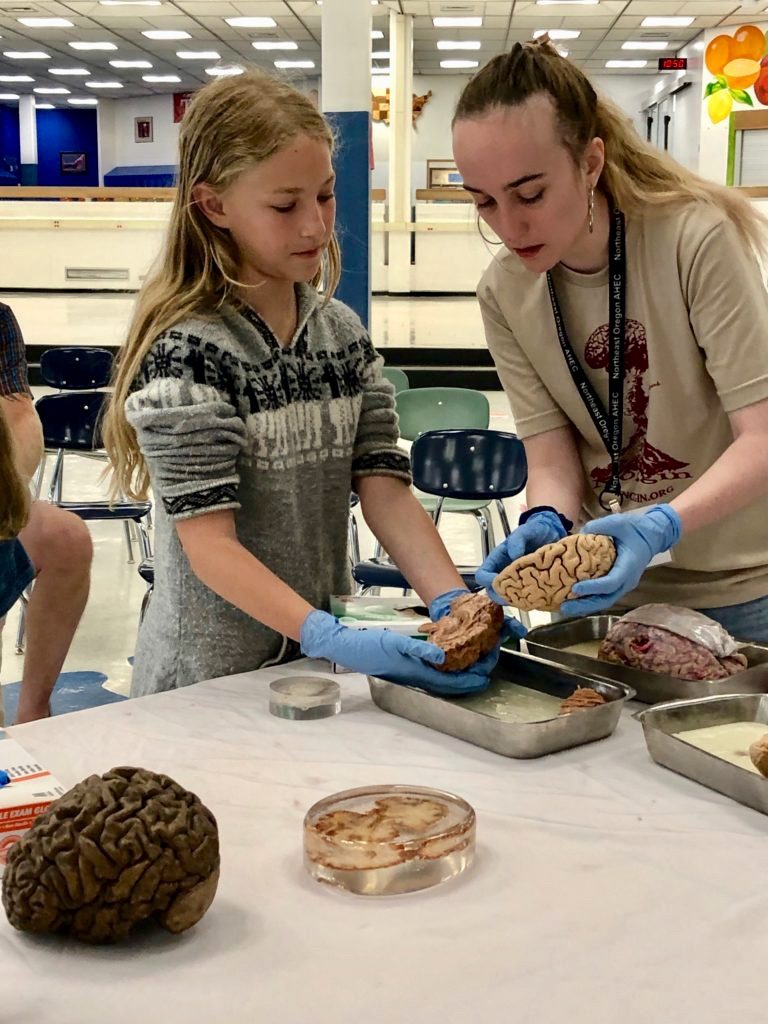
Yet handling brains, of course, causes wear and tear – especially when you’ve offered specimens to over 35,000 kids since 2012! But what if you could encase sections of brain in some sort of protective resin..?
We are fortunate to welcome so many talented and accomplished young artists and scientists we meet through teaching undergraduates at Portland State University, who volunteer their expertise and enthusiasm to excite K-12 classrooms and public venues about both neuroscience research and art throughout the year. Darrin Lane, a recent graduate of PSU, first came to our attention after crafting an eye-catching L-type cone photoreceptor in stainless steel (with LEDs!) for a project in our Perception course!
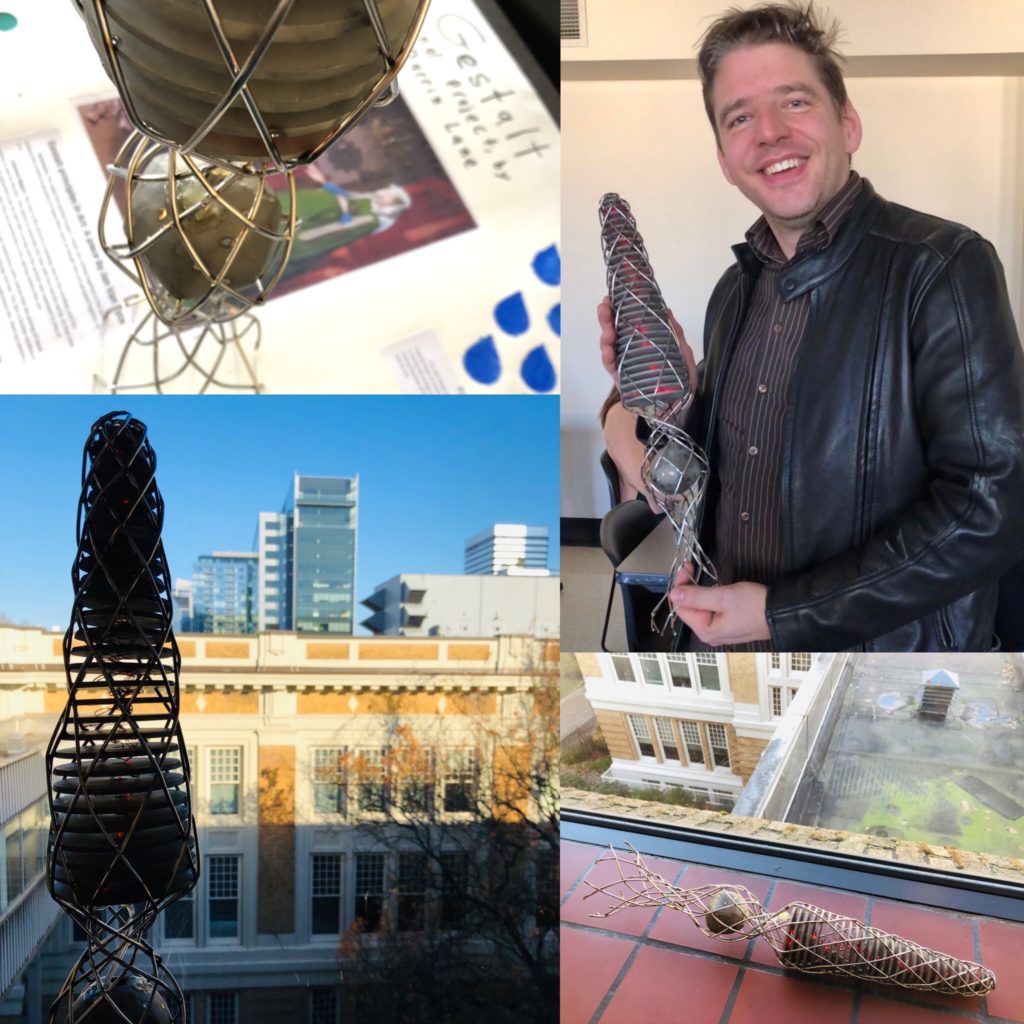
Darrin took on this noggin-casting project, and the following is his guide to doing it yourself!
Casting Biological Tissue at Home on a Budget, by Darrin Lane
Encasing objects in liquid plastic is a fantastic way to preserve and display treasured objects, but plastination of biological tissue is much more difficult and expensive because of how moisture reacts with hardening polyester resin. The recommended equipment for plasticizing tissue can cost thousands of dollars, and that’s not counting the resin and other chemicals required. The following tutorial is designed to help the novice caster encase their own specimens and keep a budget of $150 to $300.
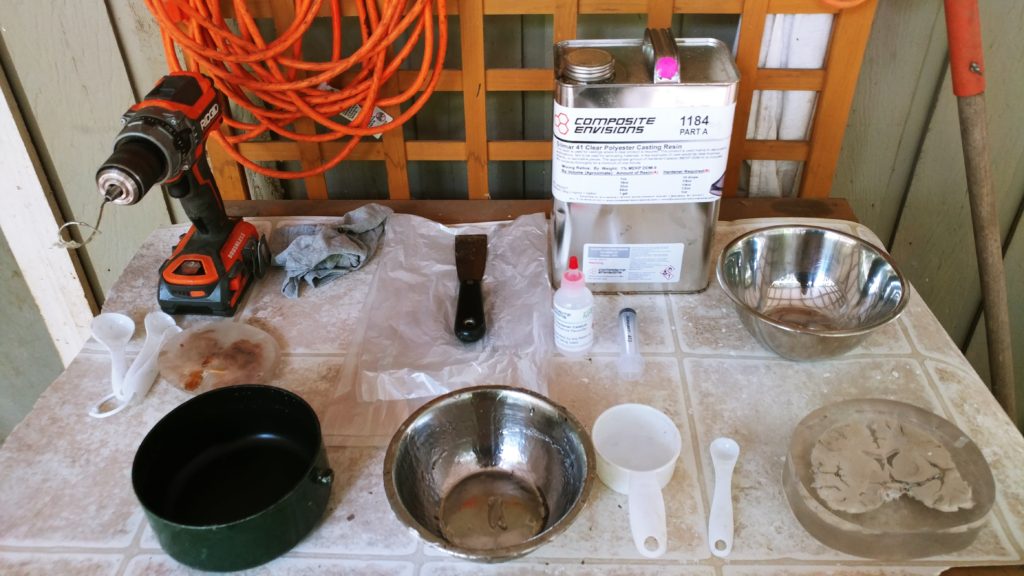
List of items you will need:
- Silmar 41 Clear Polyester Casting Resin (or equivalent casting resin)
- Acetone.
- Metal container for the mold.
- Measuring cups and spoons.
- Assorted sizes of glass storage containers.
- Sandpaper of varying coarseness.
- Plastic polishing compound and buffing wheel.
- A well-ventilated area to work.
- Nitrile (or other nonpermeable) gloves.
Optional Items
- A drill with ¼ and 1/8-inch drill bits.
- Hot glue gun.
- Pressure/vacuum chamber. Watch this video: DIY Pressure Pot for resin casting. The same pot can be used for a vacuum chamber by pressing a hand vacuum pump into the air inlet.
- A freezer (preferably empty of all food).
- Dental irrigation syringes. These syringes needed the ends trimmed off so resin could flow efficiently in and out of the syringe.
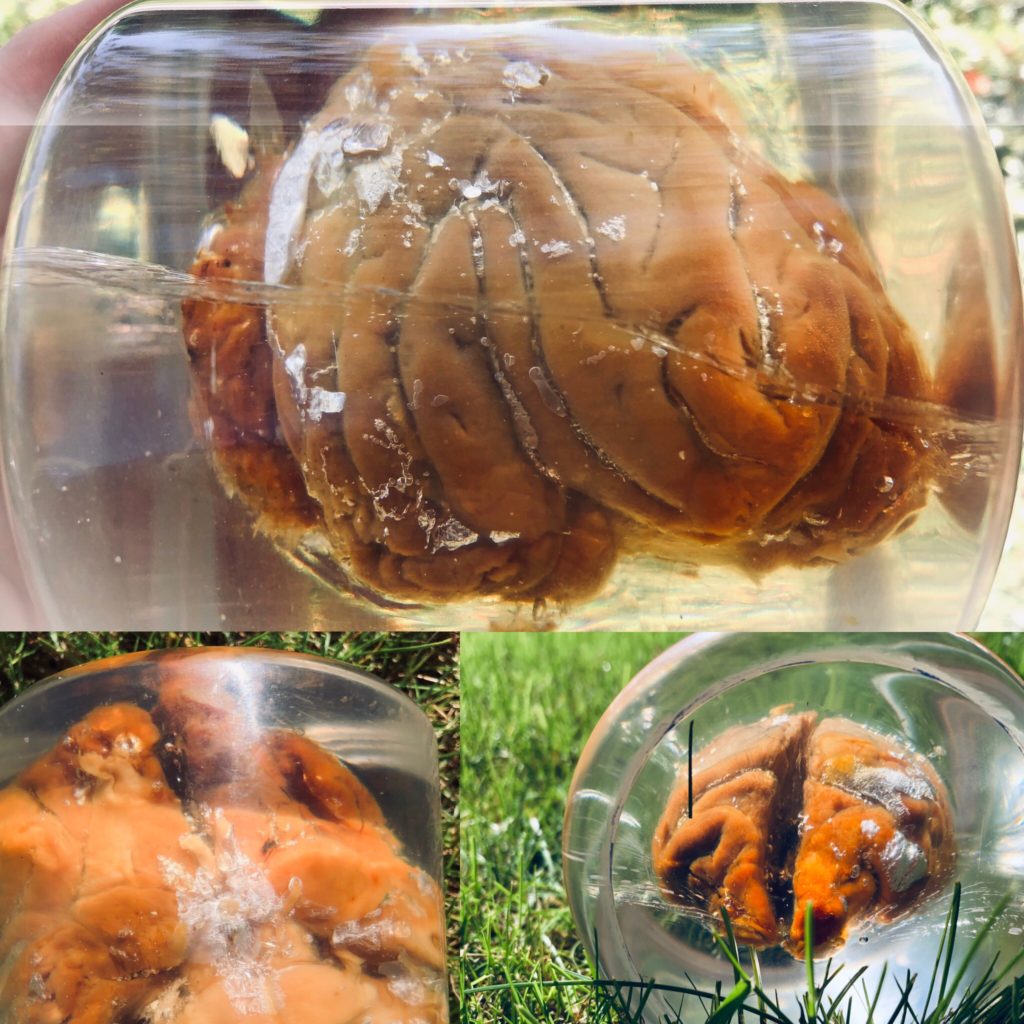
The first step is to pat your specimen dry of excess moisture and measure out at least double the volume of your specimen in acetone.
Freeze the specimen and acetone separately at -20ᐤC to -25ᐤC. An average freezer’s coldest setting is around 23ᐤC, so this should suffice. The acetone should be in a container large enough to fit both the acetone and the specimen. Acetone is a powerful solvent, so I recommend a glass container for this step. Once the specimen is frozen, place it in the cold acetone and let soak for seven days. After seven days, replace the acetone with fresh acetone and let soak for another seven days at 10ᐤC. If the specimen is left to soak at room temperature it should not be left to soak in each acetone bath for more than three days as the acetone will dissolve the fat content of the specimen. This will make the specimen more transparent.
After all the moisture has been displaced by acetone in the specimen, it is time to impregnate the specimen with the polyester resin. Measure out the volume of the specimen in resin and pour into an airtight glass or metal container and cool to 0ᐤC to -5ᐤC. Place the specimen directly from the acetone into the resin. Let the specimen soak for another seven days and repeat this process a second time with a fresh batch of resin. Less time is needed if the specimen is depressurized to -12kpa while soaking (details on how to make a pressure/vacuum chamber are in the link above, and here). If done at room temperature, the specimen will only take two days to completely impregnate, but the specimen will shrink and look dehydrated.
Now it is time to cast your specimen.
This is the most crucial part of the process. The curing process produces heat, and heat accelerates the curing process. Also, the larger the batch is, the more heat it produces. This causes a runaway effect that can cause the resin to crack while hardening. If your finished product cracks, it can be repaired (details below). To minimize the heat in the cast, I recommend an aluminum container for efficient heat distribution.

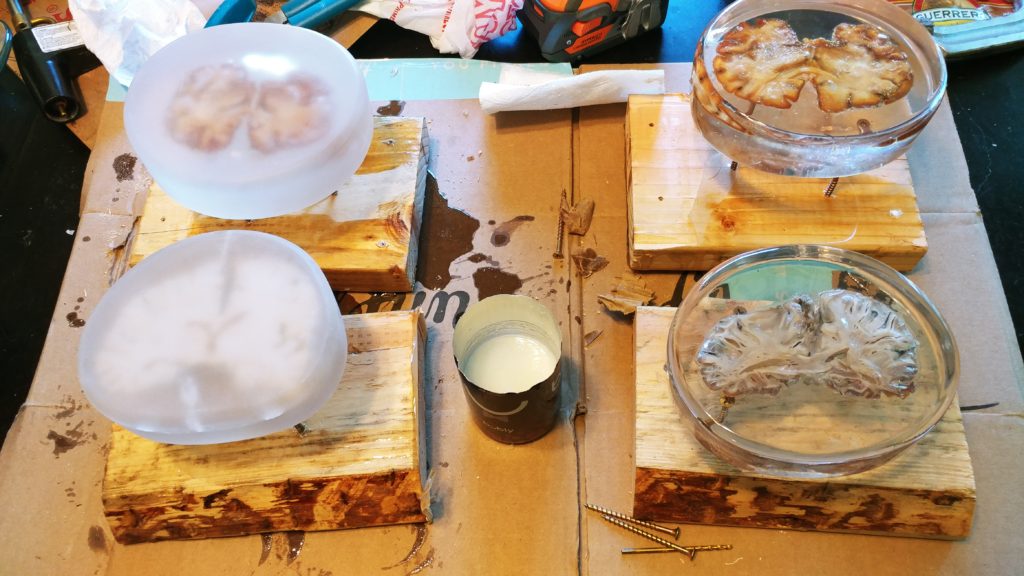
Most secondhand stores have a good selection of old aluminum pots and pans to choose from. I recommend a container an inch or two larger than the specimen to conserve resin. Using only the recommended amount of hardener and working in cool temperatures will also reduce the chances of cracking. The cast will be poured in two sections. The first section will create a platform for the specimen to rest on.
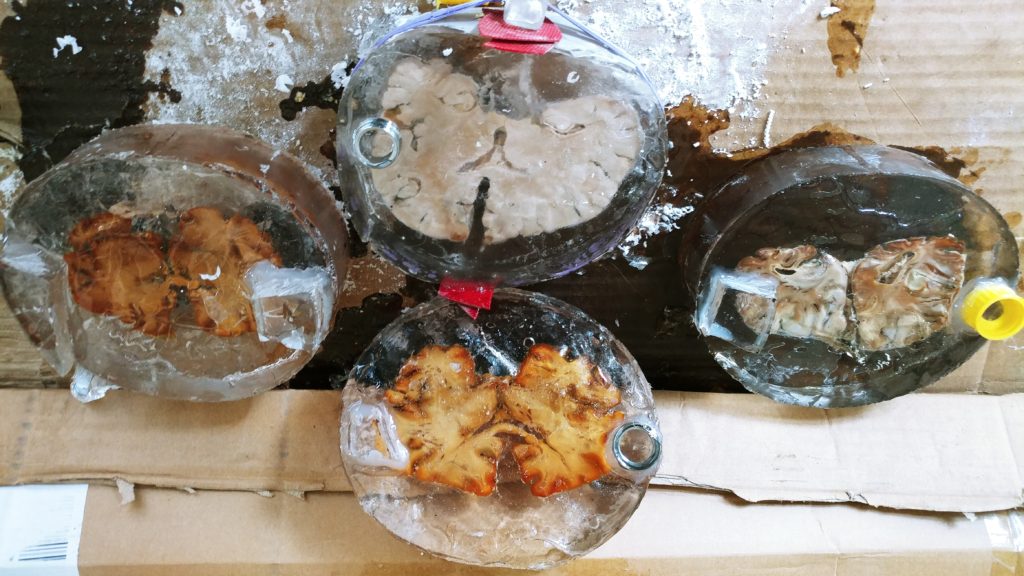
Begin by using a well-ventilated area and laying down protective covers on work surfaces and wear protective gloves. To estimate how much will be needed, it is best to measure out the estimated volume in water first, to make sure there is a sufficient amount. Make sure to dry out any excess water from the container before pouring any resin. Measure out the first half of the cast, add the hardener, and stir. Follow the manufacturer’s directions closely. At this point I recommend filling a bucket of cool water (4ᐤC to 15ᐤC) to the height of the first pour. If the cast is going to cure under pressure, the pressure chamber will be used for this step instead of the bucket. Carefully place the container in the cool water; do not to get any water in the resin. When the resin starts to become tacky, after about 15 to 30 minutes, take the container out of the water and place the specimen into the hardening resin. Press the specimen into the resin to keep it fixed to the first half of the pour. Now mix the second half of the resin and pour it into the container. If the specimen starts to float to the top of the resin it may be necessary to press it down to the desired depth as the second half of the resin is hardening. Now put the container back into the cool water. There should be enough cool water that the container does not float, but still keeps most of the resin cool. If using a pressure chamber, pressurize the curing resin to between 15psi and 30psi. Pressurizing the curing resin reduces the amount and size of any bubbles still trapped in the resin. I recommend letting the resin cure for at least two days. Afterwards, the resin should have shrunk a little allowing it to fall out of the container. Hopefully the resin is free of any cracks or impurities and the specimen is clearly visible without any excess moisture surrounding it. If not, refer to the repair section below.
Now it is time to shape and polish the resin. Techniques on how to shape and polish the resin vary on personal preference and tools available. Access to a lathe and 3000 grit sandpaper will create a finish as clear as glass. For some applications, polishing may not be necessary because the container was smooth enough for the resin to remain adequately clear. If sanding is needed for a project that will be handled a lot, then it will be getting slightly scuffed anyway making a glass finish futile. For these applications I recommend 60, 320, 500, and 1200 or equivalent grit sandpaper and plastic polishing compound with buffing wheel.
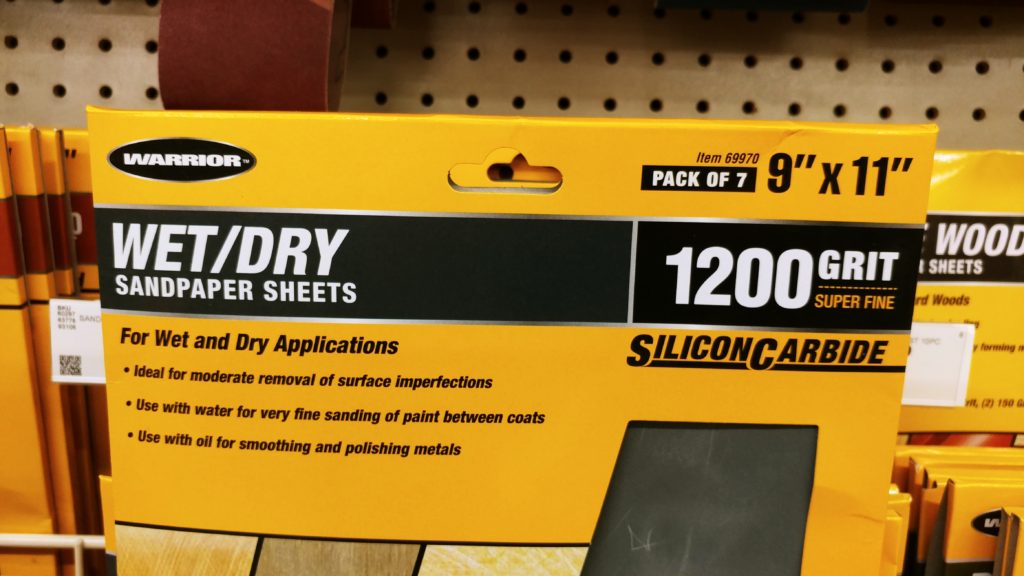
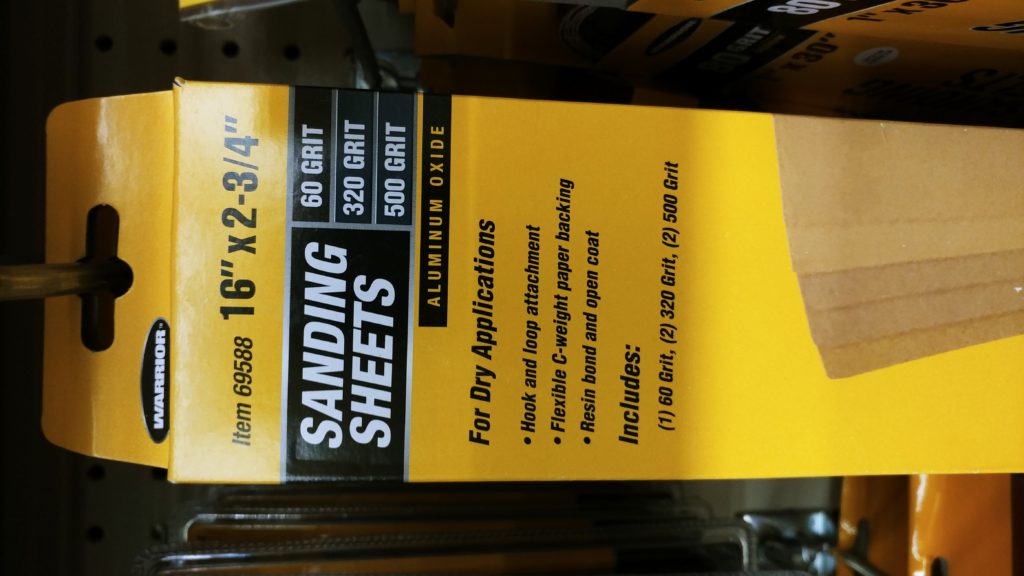
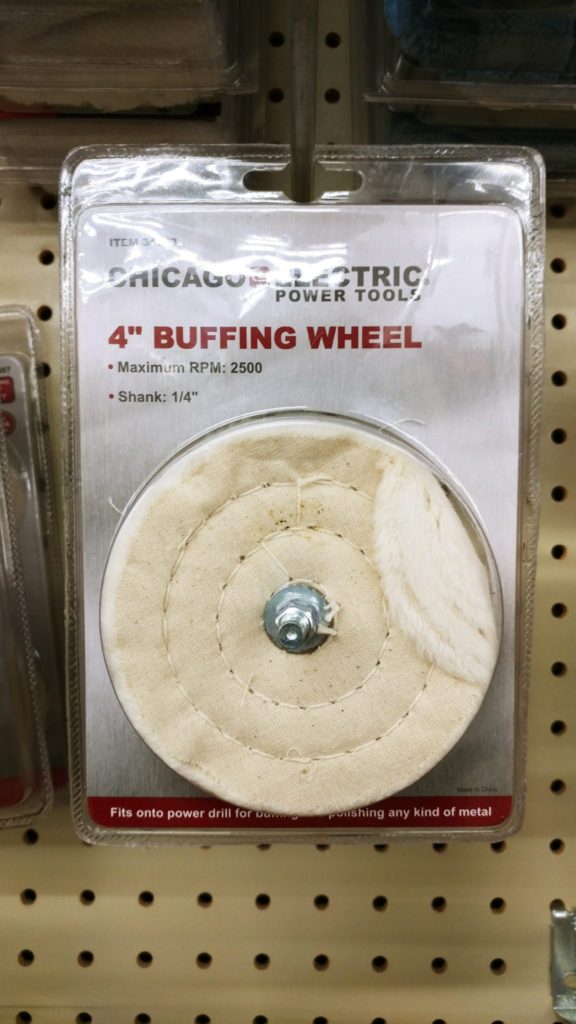
Polishing is tedious and time consuming, but the more patient you are, the better the product will turn out. The area of the resin exposed to the air while hardening creates a film that can be as thick as one mm. Use the 60-grit sandpaper to sand off and smooth the edges to the desired radius. Despite being advertised for use on dry applications, the sandpaper recommended in this article is very effective when wet. After the piece is sufficiently sanded with 60 grit sandpaper, start sanding it with the 320-grit sandpaper. All the marks from the previous grit should be removed before moving to a finer grit. Repeat this process with the 500-grit sandpaper, then the 1,200-grit. After the resin is sufficiently smooth, it is time to use the buffing wheel. The buffing wheel I recommend for this project fits on a drill, but any table mounted buffing wheel will work. Apply an ample amount of buffing compound to the buffing wheel. While making sure not to press too hard or go too fast, press the wheel onto the material. It will take a few minutes to find a technique that works best for you.

Troubleshooting
1. If your resin has formed a crack.
This is not the end of the world. These cracks can be filled in almost seamlessly with more resin. Either fill the container originally used to cast the piece with a few ounces of resin and press the cast back into the container firmly to fill in all the gaps. (Note, this will not give the piece anywhere to shrink, so getting the cast out a second time will be more difficult. The container may have to be destroyed.)
Another option for fixing this problem is to wrap the cast tightly in a plastic garbage bag and secure it with tape or rubber bands. (Some plastics will dissolve when exposed to the resin. Test a small sample of the plastic first to make sure it will not fall apart). Make a small hole in the plastic where the crack has formed at the bottom of the cast and inject the resin into the cast slowly until the entire crack has overflowed with resin. Seal the hole with more tape or rubber bands and let sit until hard.
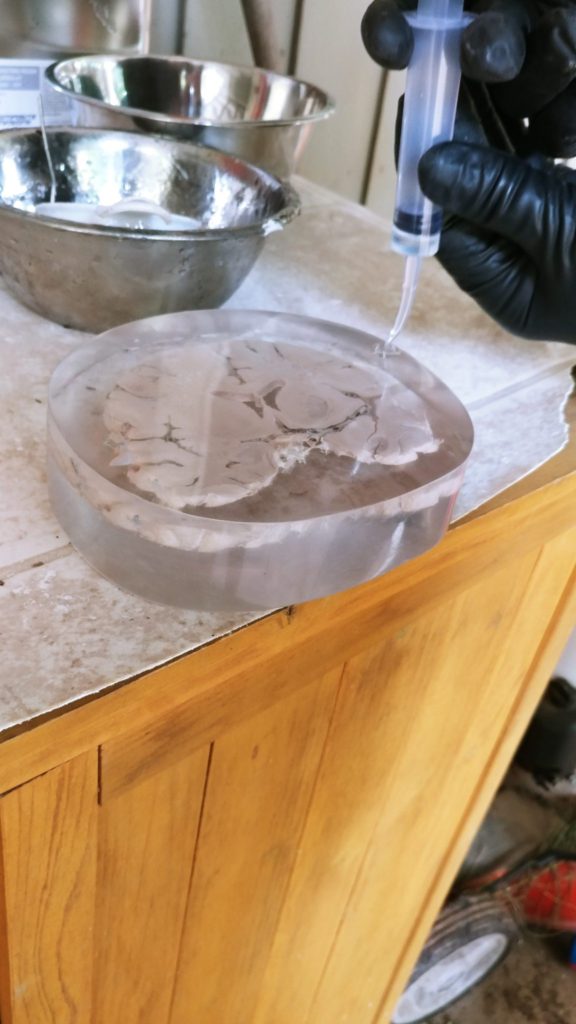
2. If there is moisture around the specimen.
If the specimen did not get fully impregnated with either acetone or resin, it will come out during the curing process. This will look like either a cloudy liquid or air pockets surrounding the specimen. To fix this problem drill two 1/8 or ¼ inch holes on the top side of the cast down to adjacent sides of the specimen. (Pay careful attention to the area around the specimen. If there is not a path from one hole to the other, resin will not pass all the way through the piece.) Allow excess moisture to drain out of the cast then inject resin into one of the drilled holes with the syringe. Excess resin will be needed to expel excess moisture and air bubbles. To ensure the drilled holes are filled completely, I recommend creating reservoirs to allow the resin to pool up around the holes. In the picture below I have created reservoirs by hot gluing bottle caps to the cast on top of the holes.
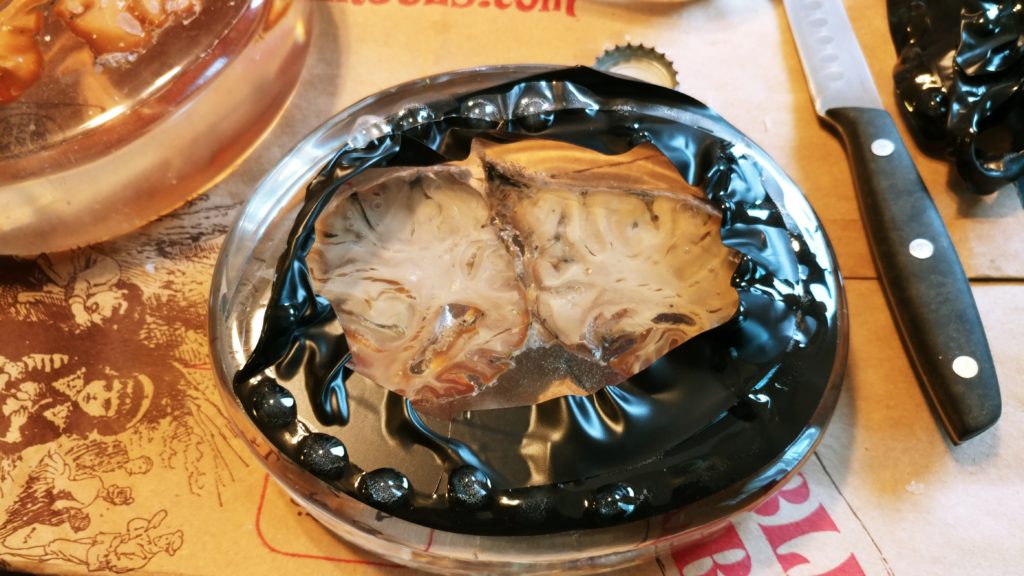
3. Optional procedure for durable products
If your specimen is going to be handled a lot, you will want some increased durability as Silmar 41 is fairly brittle. If you want a mirror shine without buffing, then I recommend coating the cast in Epoxy tabletop resin. The Silmar resin will only require sanding down to a 320- grit sandpaper for the epoxy resin to adhere clearly. The procedure for coating the original cast is similar to that of coating a table with resin. Make sure the cast is level, mix equal amounts of resin and hardener in container, stir thoroughly for 3 minutes, pour the Epoxy evenly over the cast, and breathe on the bubbles through a straw to pop them. Once the epoxy has hardened, flip the cast over cut off all the excess epoxy droplets, and repeat the procedure for the back side. For this pour I used electrical tape to form a gutter that would not allow droplets to form on the now bottom side of the cast. The final pour is important because Epoxy cannot be buffed or polished. (See detail below)