")
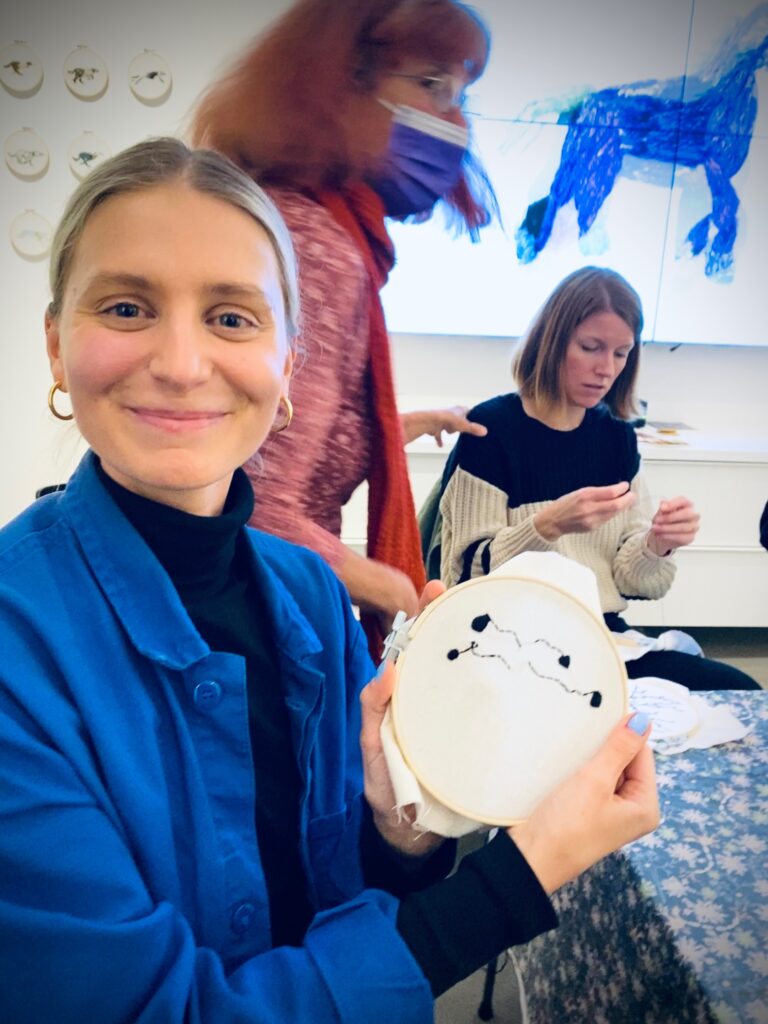
Embroidery and Brains
“The eye that directs a needle in the delicate meshes of embroidery will equally well bisect a star with the spiderweb of the micrometer.”
— Maria Mitchell
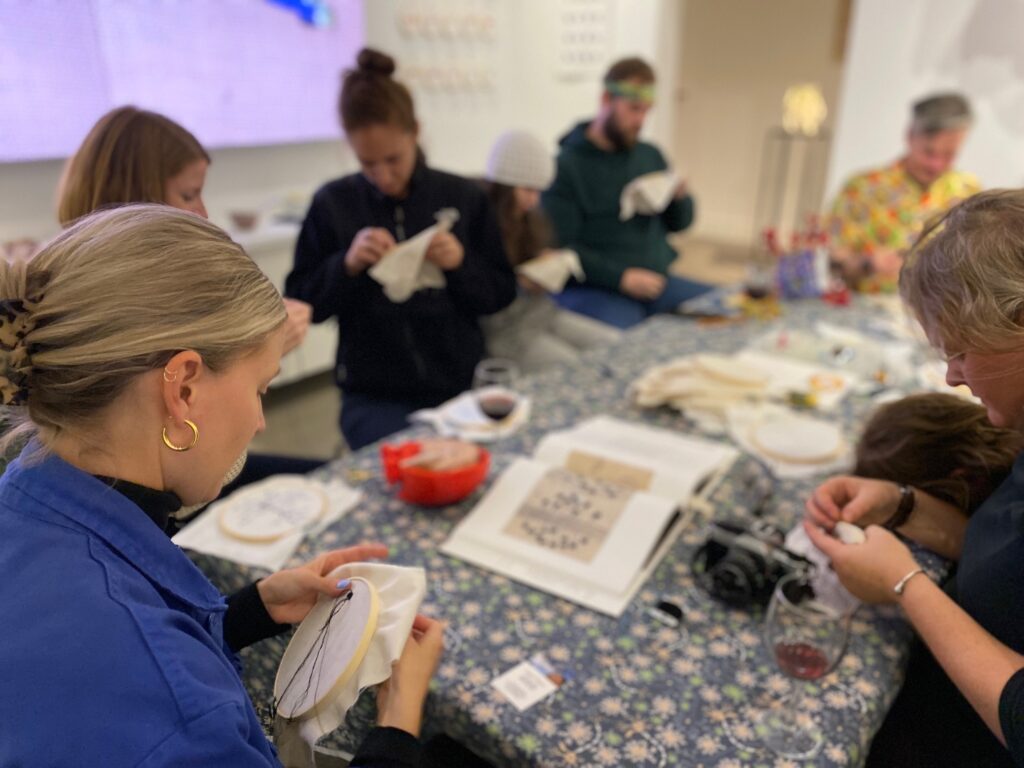
Extraordinary images of brain cells drawn by eminent artist and neuroanatomist Ramon y Cajal work particularly well as subjects for embroidery. Some striking examples were stitched by volunteers in 2020 as part of the Cajal Embroidery Project, which marked the 100 year anniversary of the Instituto Cajal in Madrid, Spain. The panels were displayed at the virtual Federation of European Neuroscience Societies (FENS) 2020 Forum.

LEARN MORE: The Cajal Embroidery Project: celebrating neuroscience
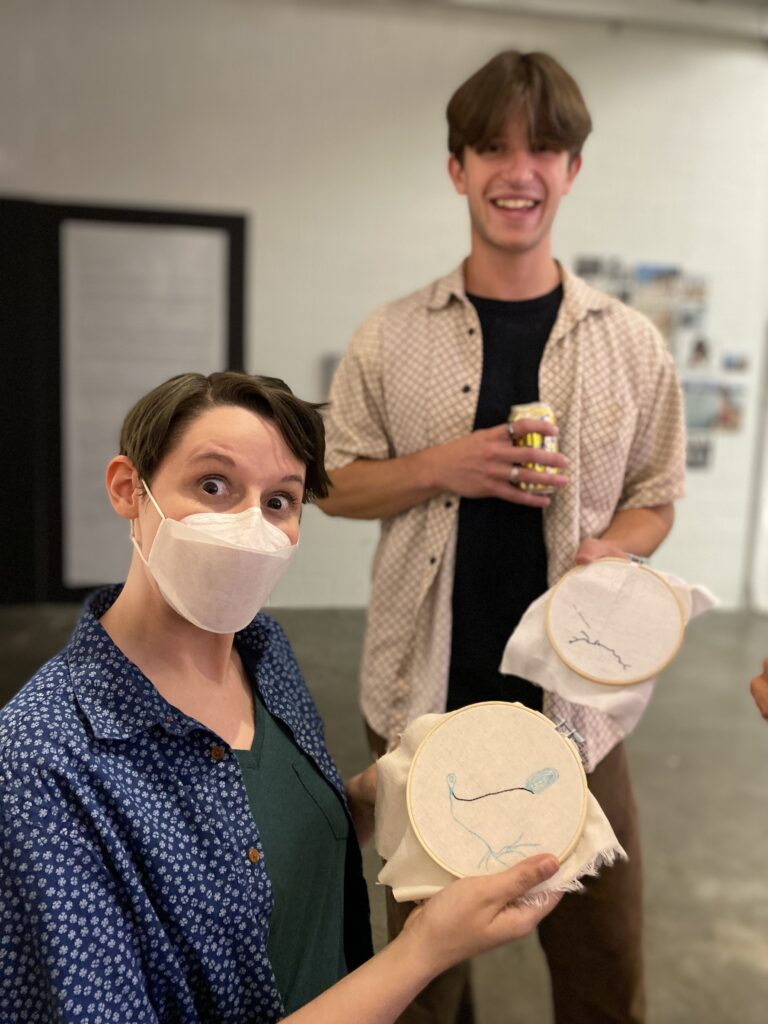
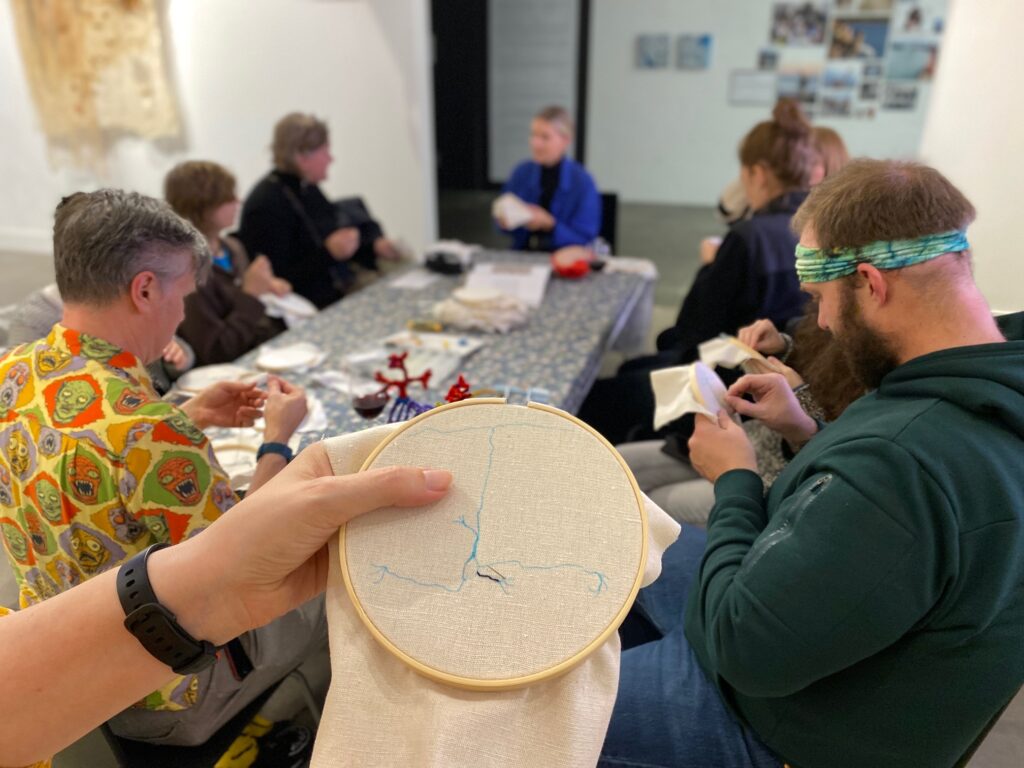
How to Embroider Your Own Brain Cell
You’ll need:
1. Embroidery hoop (also known as a tambour frame)
2. Embroidery fabric or soft pencil (erasable)
3. Fabric pen
4. Embroidery needle with a long oval eye (opening)
5. Embroidery floss (thread) with six strands of thread
Steps:
1. Attach fabric to hoop between the rings and tighten
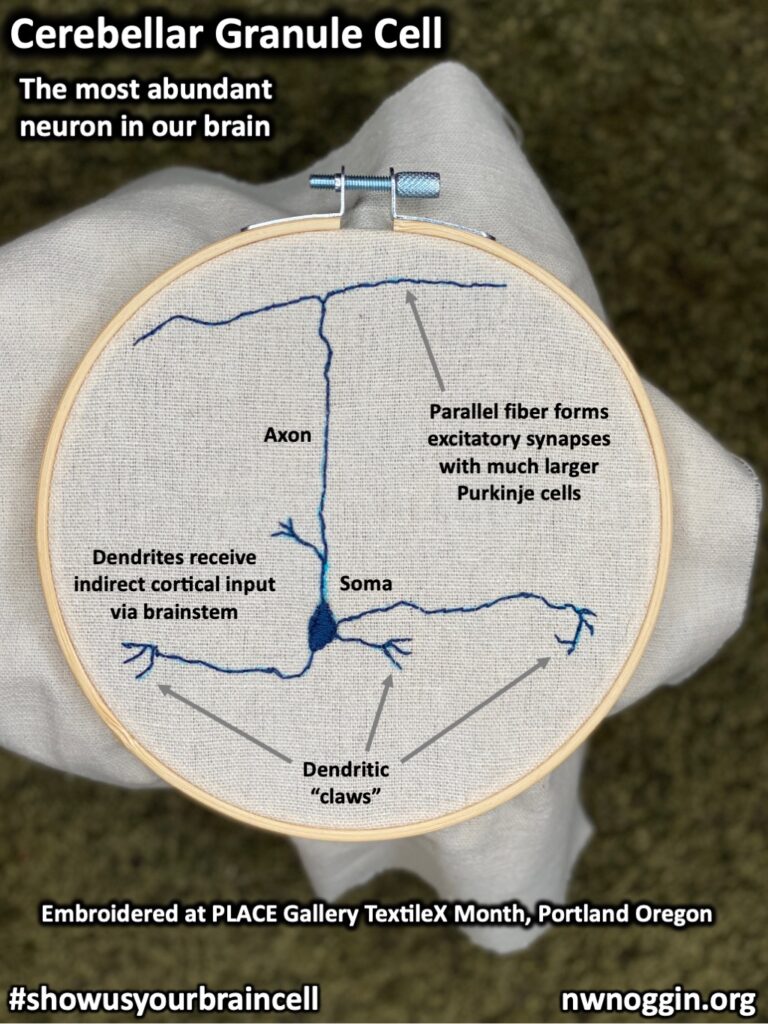
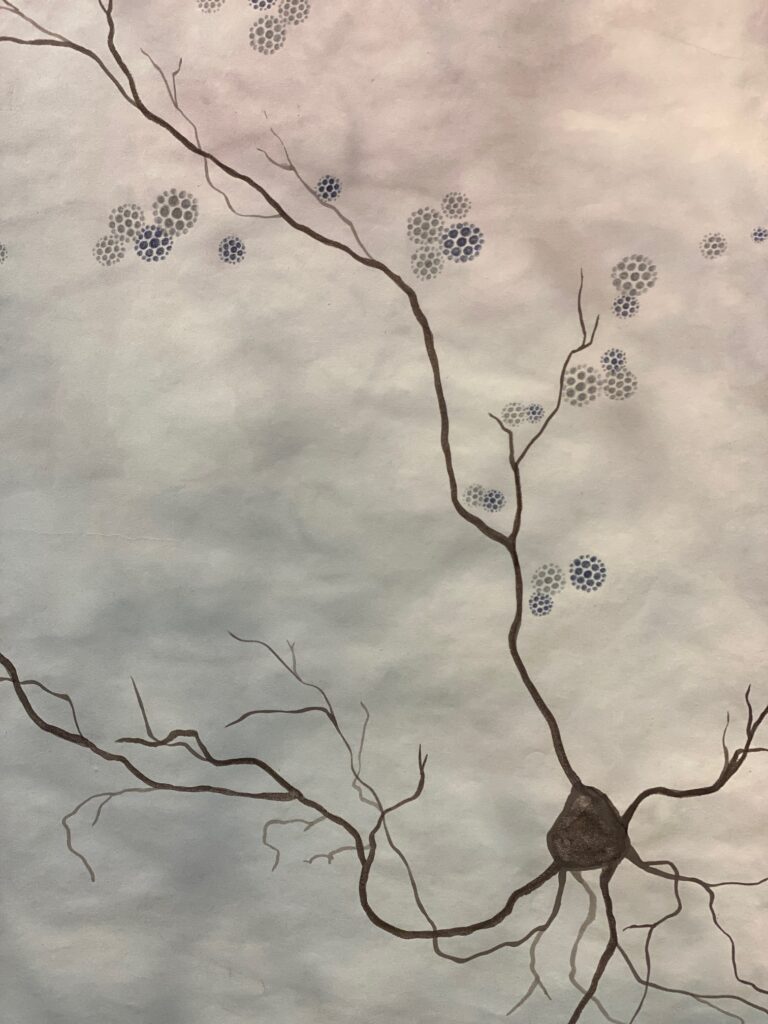
2. Draw your brain cell design directly on the fabric. Will it be a cerebellar granule cell? A pyramidal cell? A cone photoreceptor? Astrocyte? Pseudounipolar afferent? A Purkinje cell (this may take a while)?
3. Cut a piece of embroidery floss about the length of your arm.
4. Decide how many threads you’ll need to stitch with. Embroidery floss typically has six strands of thread, and for many finer dendrites two threads work well. You’ll need to separate the two strands from the remaining four.
5. Thread your needle! Pull the thread through, but make sure you always have uneven lengths. Pay attention to the “tail” end, and keep it about the same length as you stitch. You may either wish to tie a knot at the end of your longer thread to prevent it from coming through the cloth or you can hold about an inch of that thread as you create your first few stitches Start from the back and pull up through your drawn line to begin.
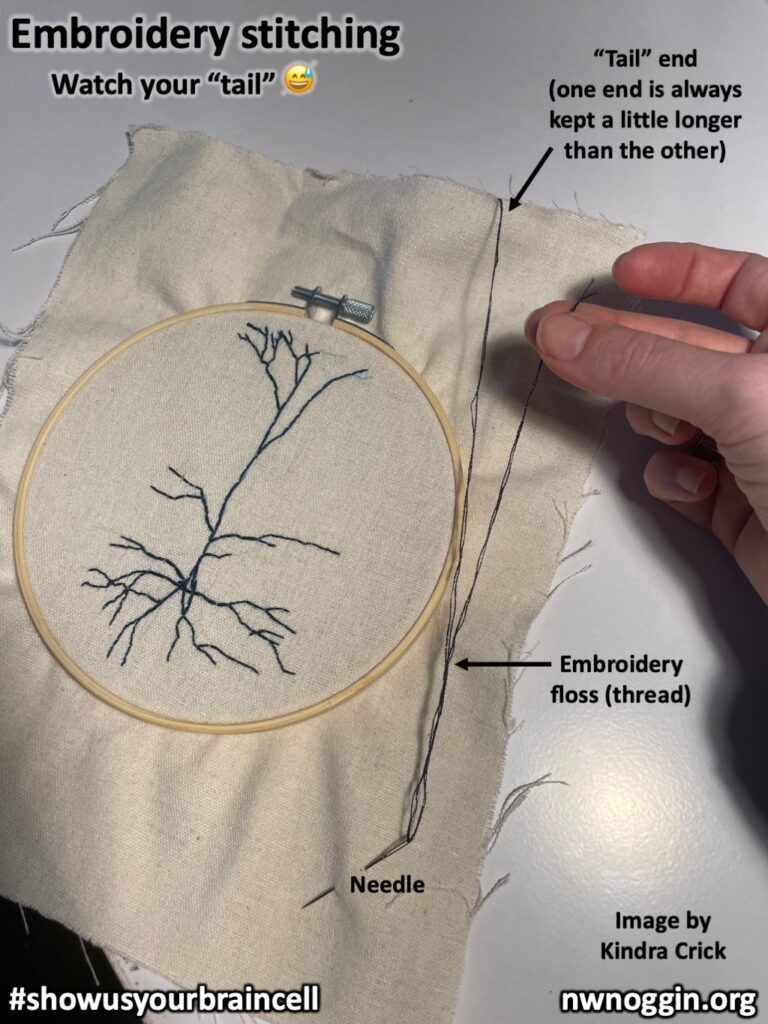
6. For the brain cells we made, we used a back stitch, stitching from the underside of the fabric forward and then returning to the source on the top with thread. There are additional stitch techniques, including the running stitch.
7. Have fun! (but watch your tail : )