

")
Art project developed by Kadi Rae Smith, undergraduate in Psychology with a minor in Interdisciplinary Neuroscience at Portland State University. Kadi Rae and their service dog Roadie are welcome participants in Northwest Noggin outreach.
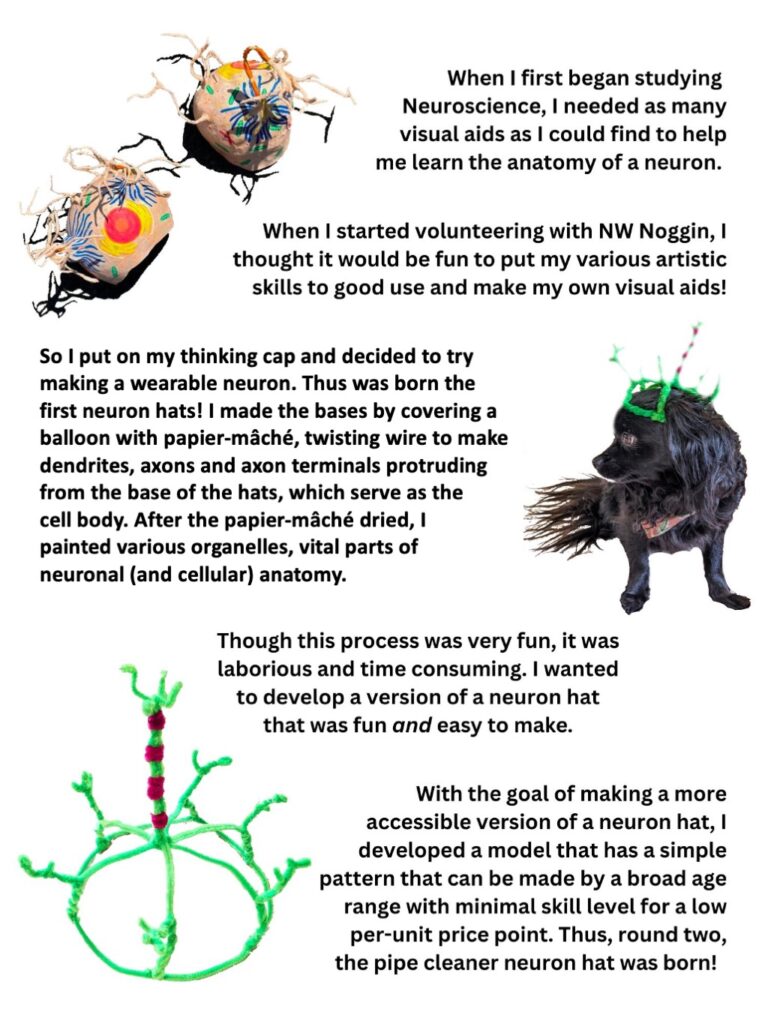
As I began studying the exciting field of interdisciplinary neuroscience, I wanted as many visual aids as possible to help me learn anatomy, including the anatomy of neurons.

For creating new synaptic community connections through Northwest Noggin, I thought it would be fun to put my various artistic skills to good use and make my own visual aids.
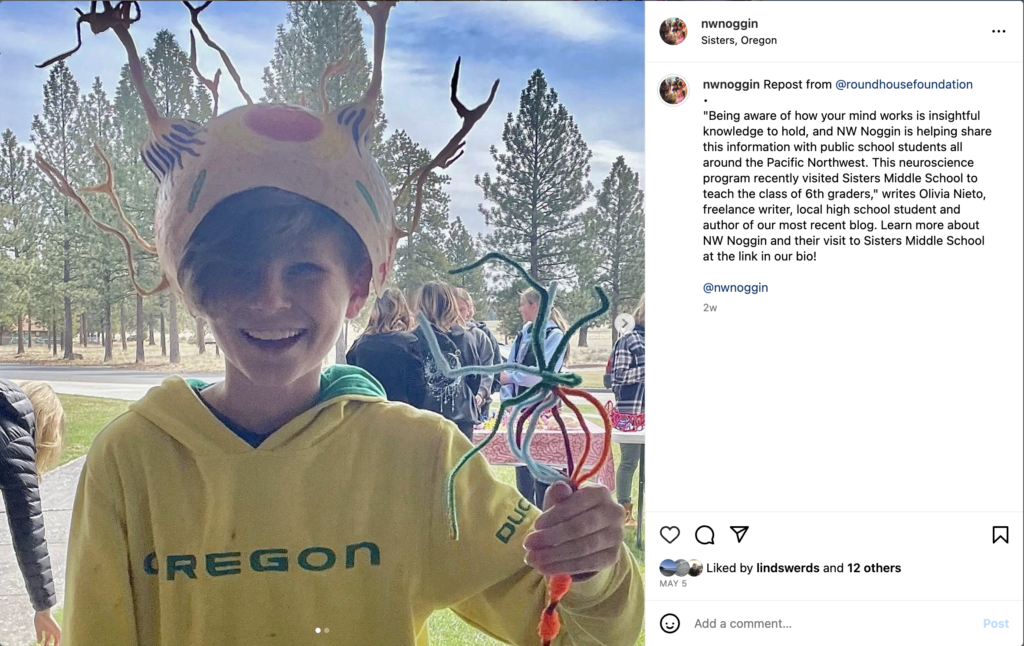
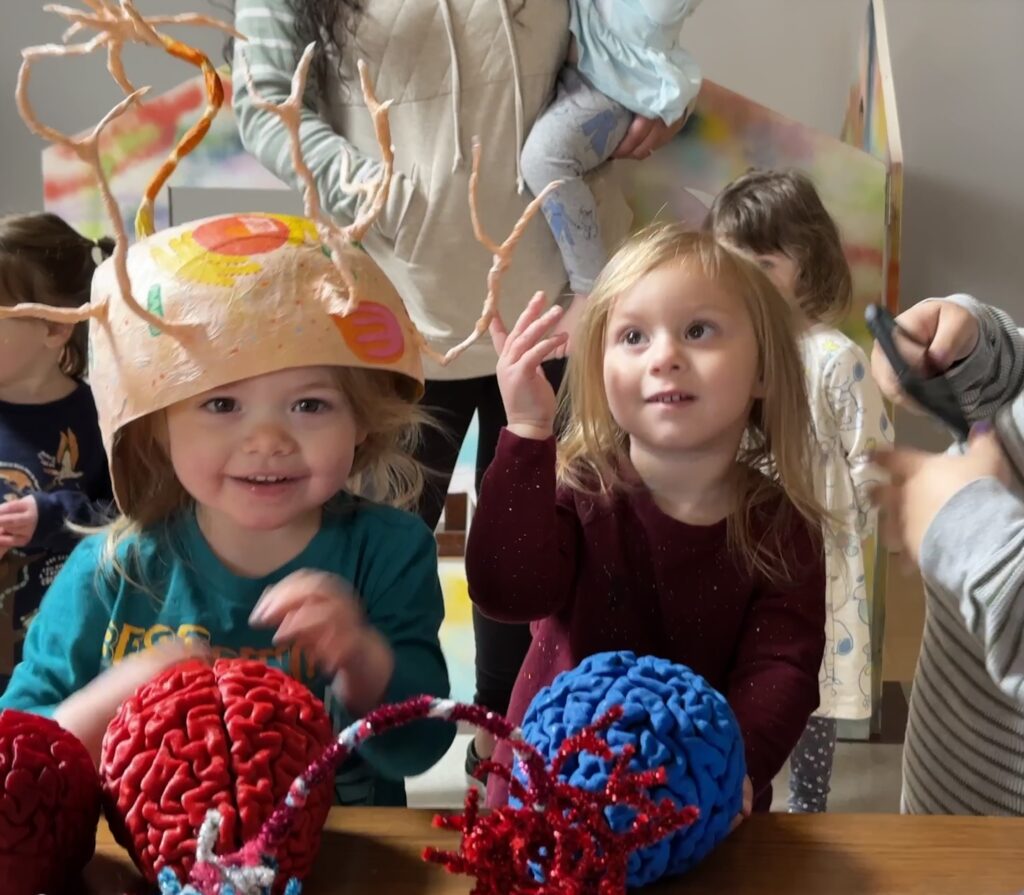
Brain cell hats piloted in Sisters Oregon: Synapses and Seconds in Sisters
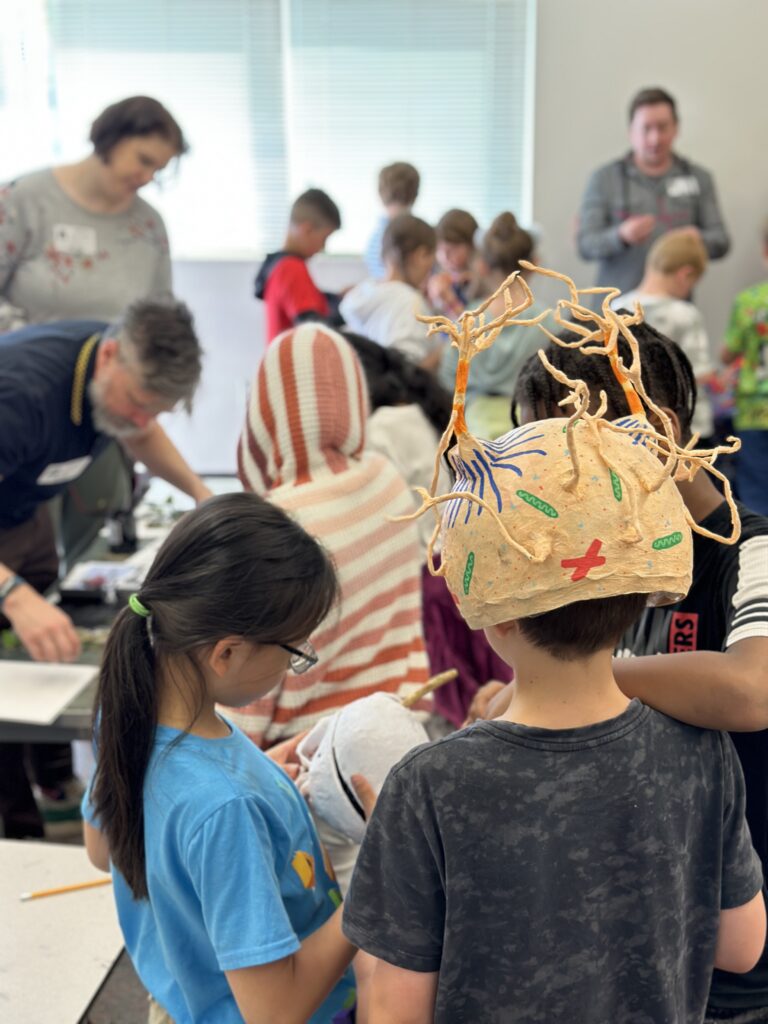
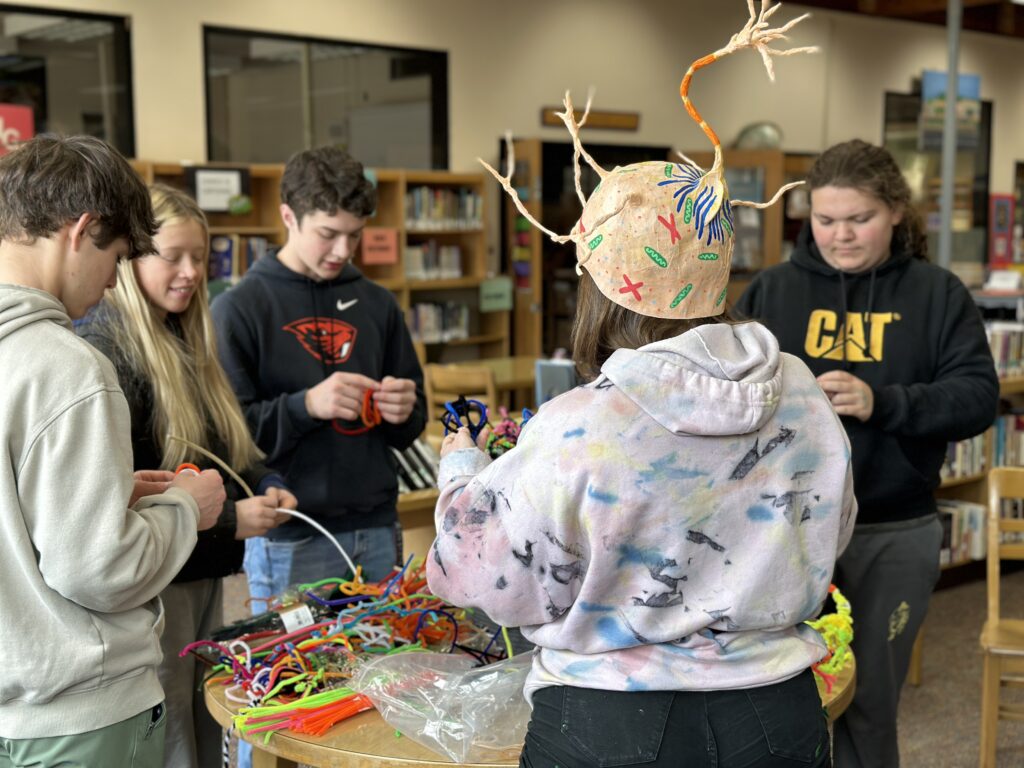
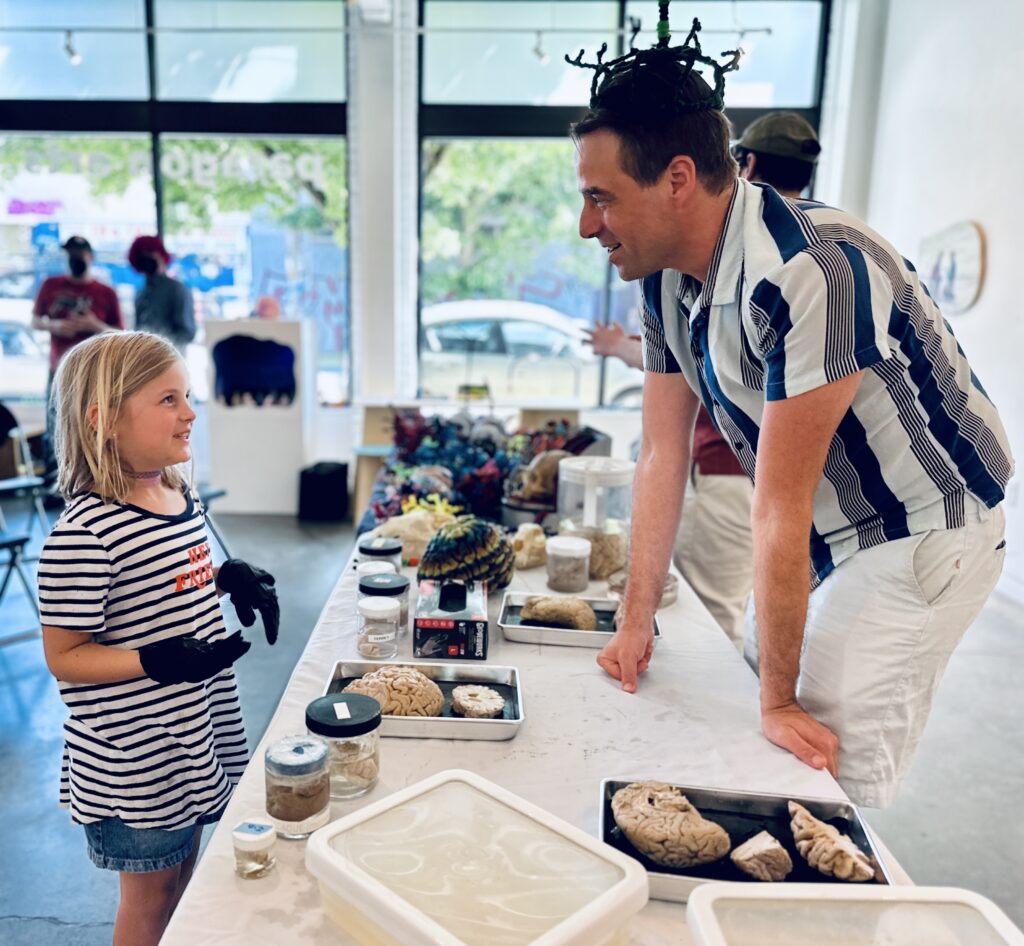
We Noggineers move around a lot, showing people model cells, making brainy crafts, and handling real noggins for willing participants to examine, hold and spur questions.
LEARN MORE: Noggin Bloggin
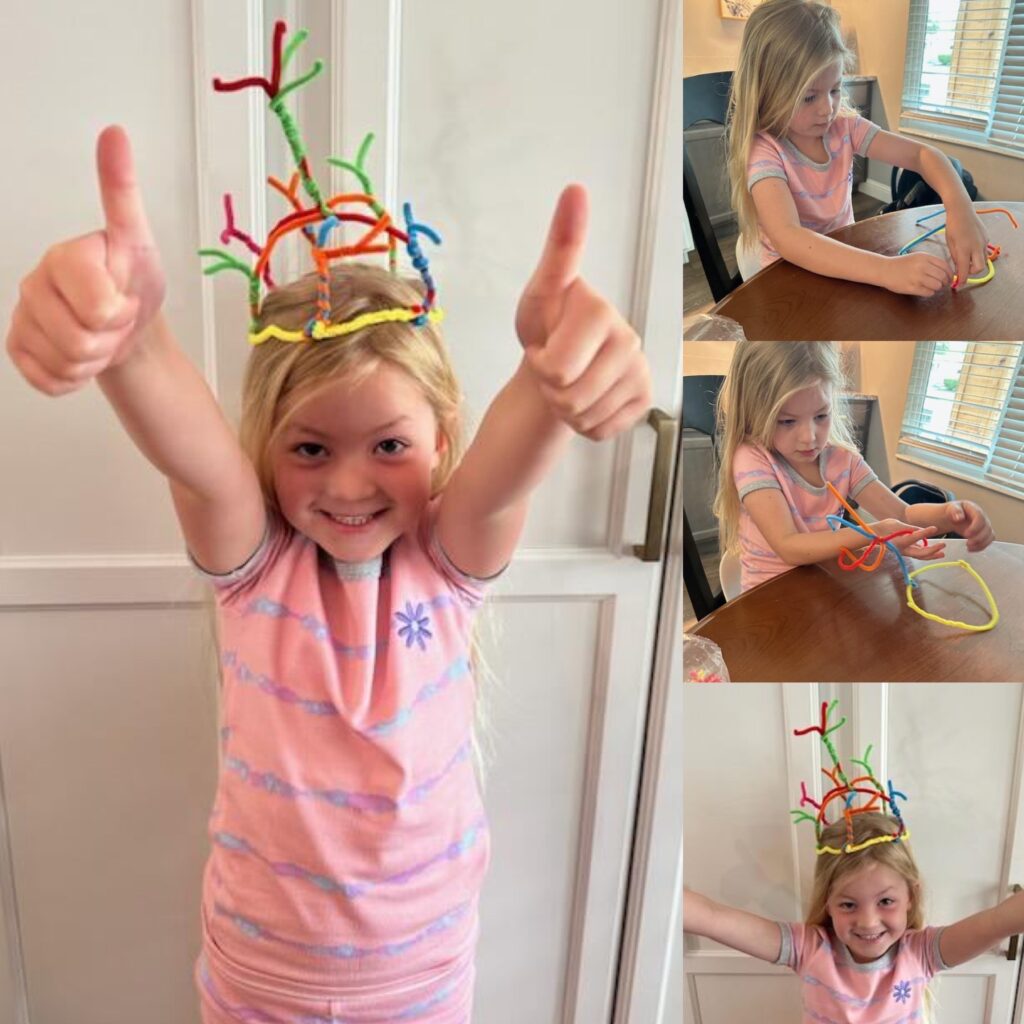
I wanted to make something more or less hands-free, a fun cerebral accessory that could also serve as a learning tool, and thus the idea of a neuron hat was born!
MAKING NEURONS IN ASTORIA: Pre-K, Fish and Logger Lobes!
MAKE YOUR OWN: Pipe Cleaner Brain Cells
A more accessible neuron hat!
I started with a popular papier-mâché version!
However, with the goal of developing a more accessible project, I designed a cellular hat that can be made by people of all ages with minimal skill for a low per-unit price. The pipe cleaner neuron hat was born!
I made a few test models to find the simplest way to make a stable hat body using the fewest number of pipe cleaners. The goal was to make something that young children could create with a little help, but older kids would be interested in crafting as well.
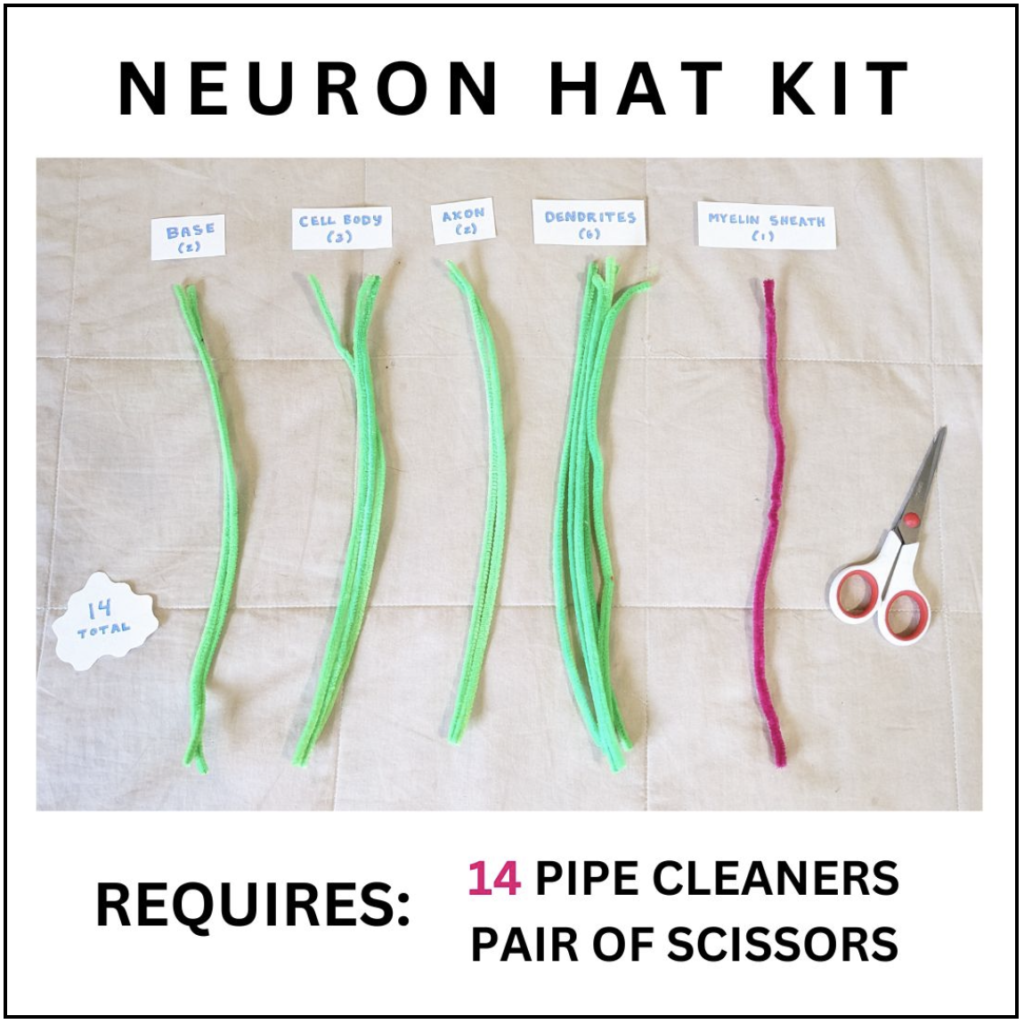
Financial accessibility was a priority. I wanted to design something that was cheap to make in bulk, so that the design could be used by educators who have limited resources at their disposal. The project requires fourteen pipe cleaners and a pair of scissors, at an approximate cost of $0.50/hat.
STEP ONE
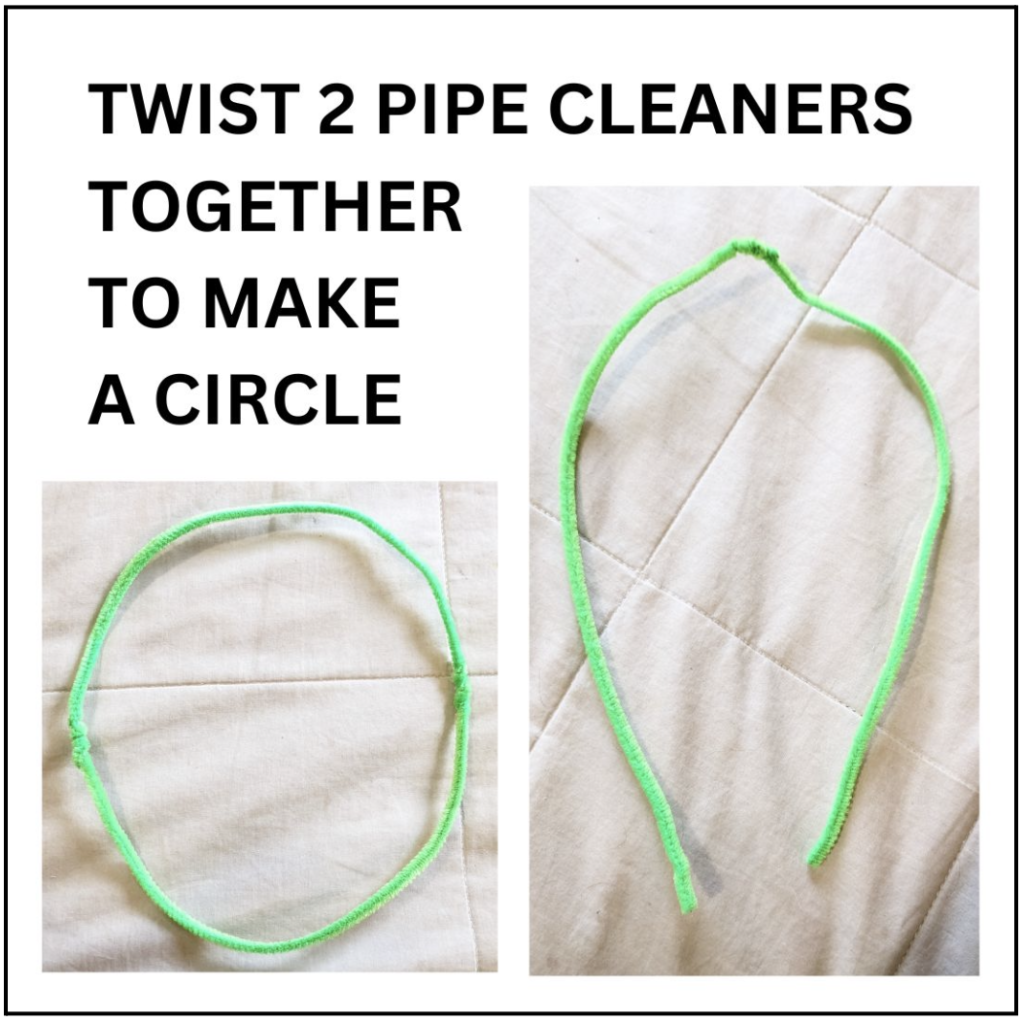
The first step is fairly self-explanatory, you make a circle out of two pipe cleaners. These can be adjusted to fit each person’s head individually to ensure that their hat fits.
STEP TWO
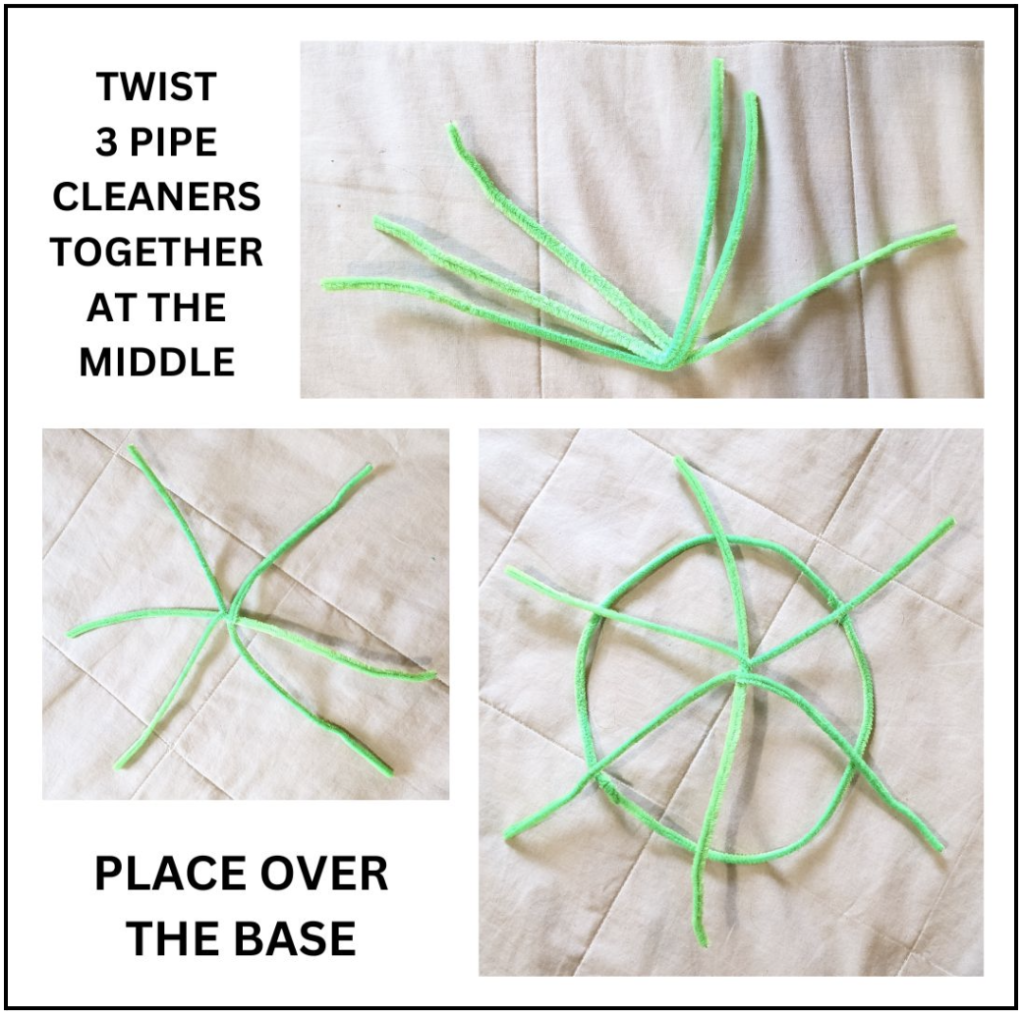
The second step is a little more complex and children under five may need help with the twisting and placement of the pipe cleaners. This is the formation of the hat body, which serves as our cell body, the base for the axon and dendrites to protrude from.
I tested this out with my four year old niece and, according to her mom, this was challenging but she was able to do it mostly on her own using only this tutorial!
STEP THREE
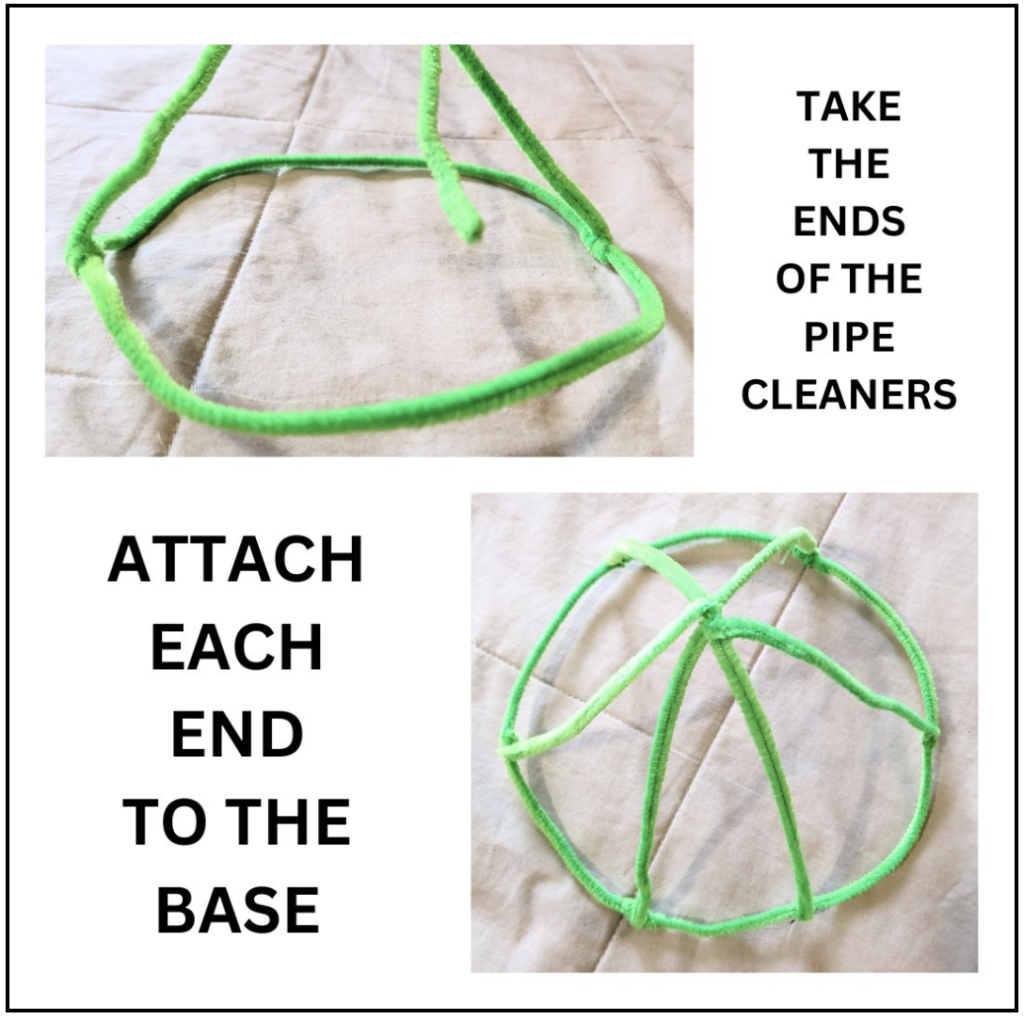
Step three is the major stabilizer, where we add function, turning it into a real hat.
Connecting the base to the rest of the hat (a.k.a. our cell body) may look daunting, but it is fairly easy. I chose a “tire” method, attaching ends to two sides located across from each other on the base, in order to ensure that the dispersal of the sections was fairly even. That way your hat will be stable and hopefully not too lopsided, which can make it hard to stay on!
STEP FOUR
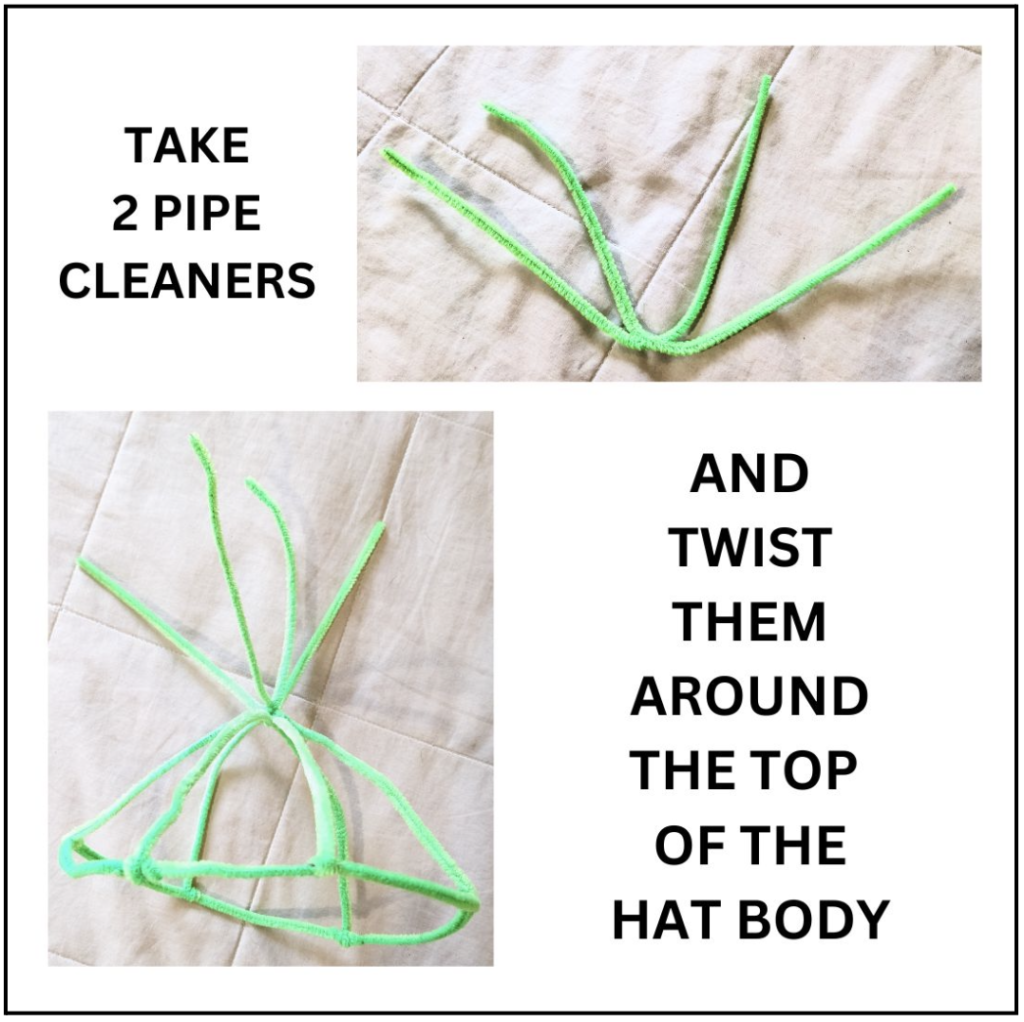
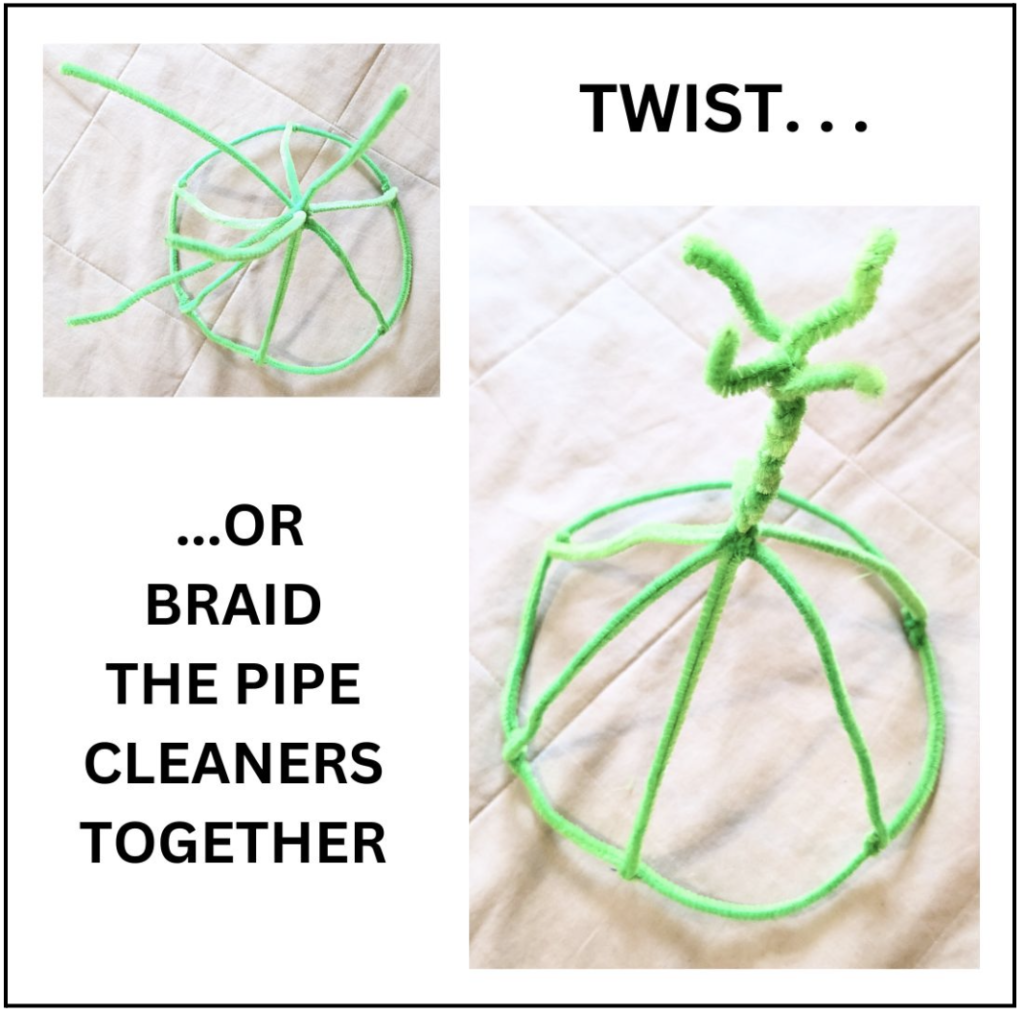
Step four is building the axon, which protrudes from the top of our neuron hat.
This requires another multi-pipe cleaner twist so it can be tricky for the younger kids.
Two pipe cleaners are twisted in the middle, tucked under and wrapped around the center of our hat/cell body. By folding the pipe cleaners in half and then giving them a twist, it ensures that your axon will have even ends for twisting together in the next step.
STEP FIVE
Step five is axon formation!
Taking two pipe cleaner ends at a time, located on opposite sides of the hat/cell center that they are twisted around, twist the pipe cleaners together until there is about an inch left on the top. Repeat this process with the second pair of pipe cleaner ends to complete your axon.
Now it’s time to form the axon terminals by bending the ends any which way in order to resemble real axon terminals!
STEP SIX
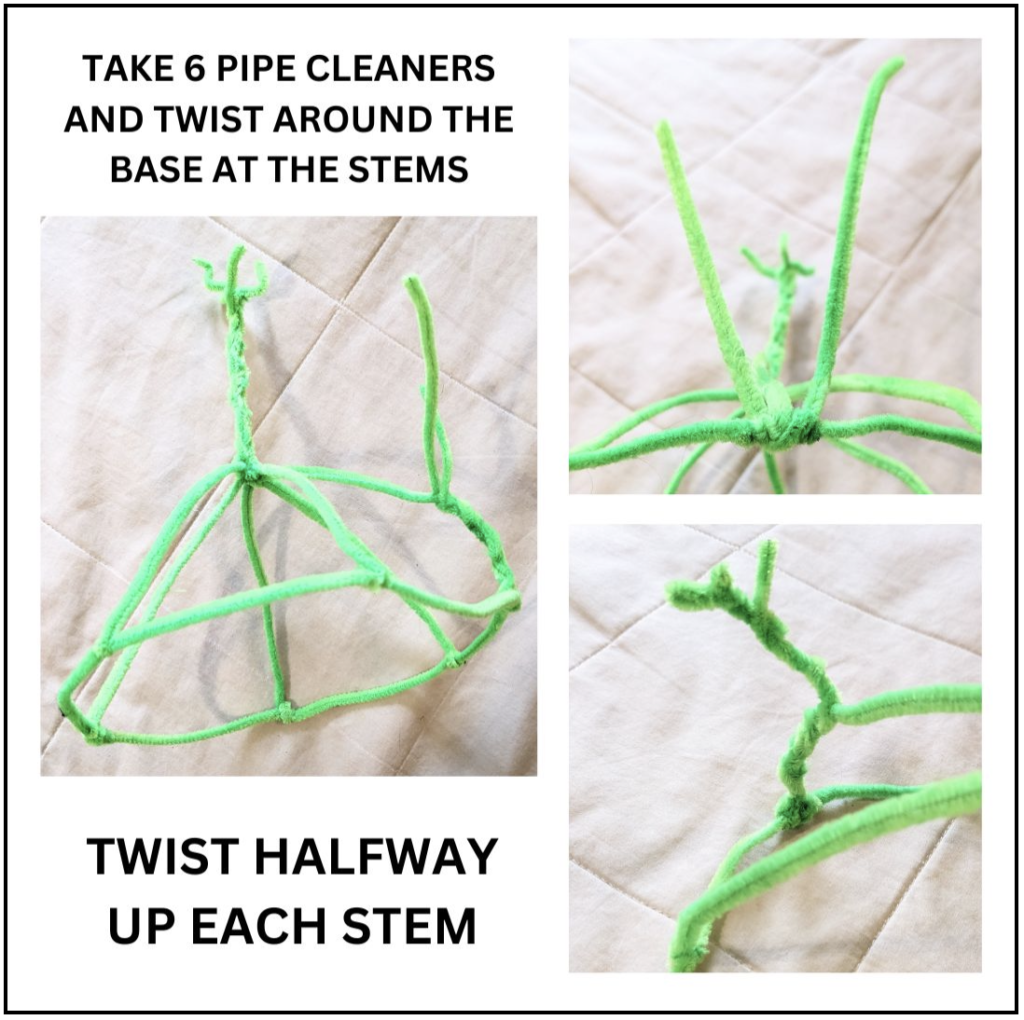
Step six is a little complicated for younger children, as it requires double-twists and a bit of spatial awareness.
Taking one pipe cleaner at a time, form dendrites by folding a pipe cleaner in half and twisting the ends around each stem of the base at approximately the halfway point. You then twist the ends together until there’s half an inch or so left at the end. The dendrite ends are bent in the same fashion as the axon terminals in Step Five.
This is repeated six times so that each stem of the hat/cell body has a dendrite.
STEP SEVEN
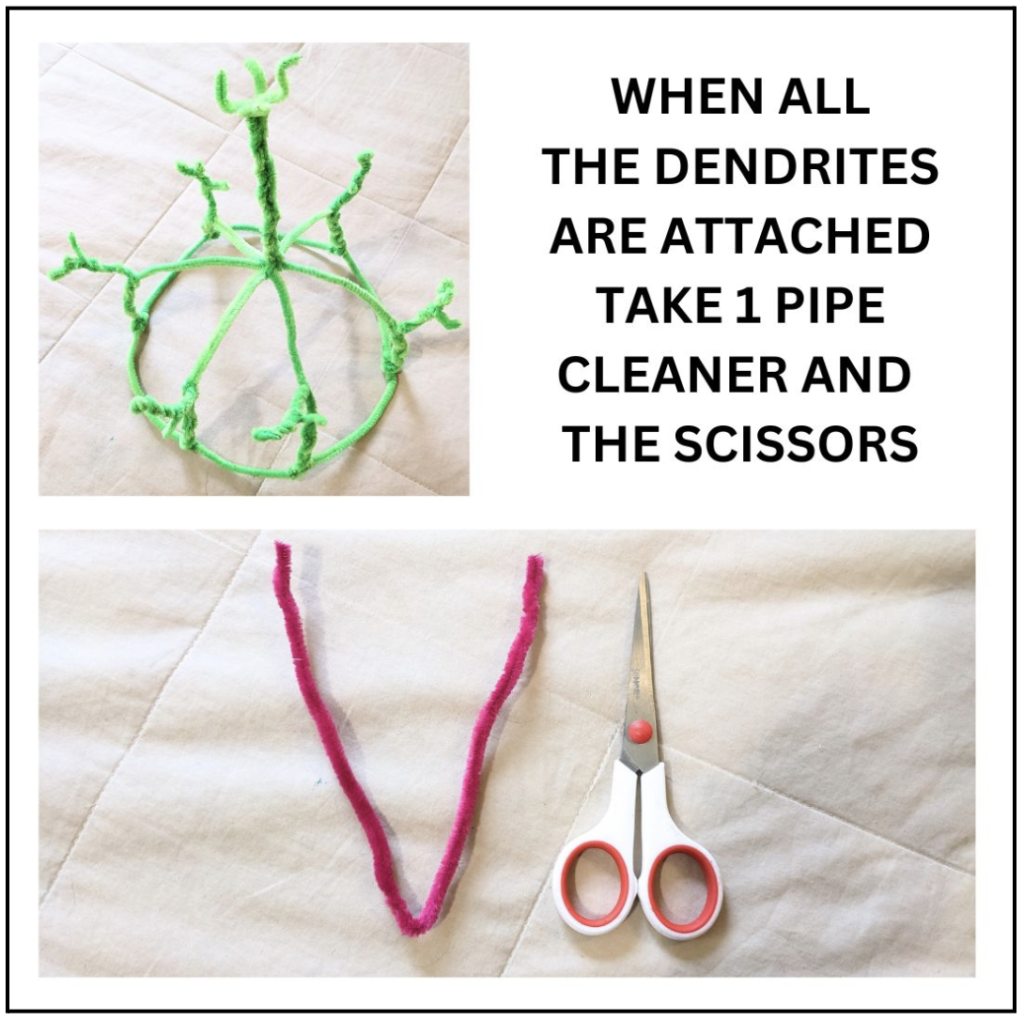
Step seven is primarily a step back to make sure everything is in place before the final step, adding the myelin sheathing to the axon.
STEP EIGHT
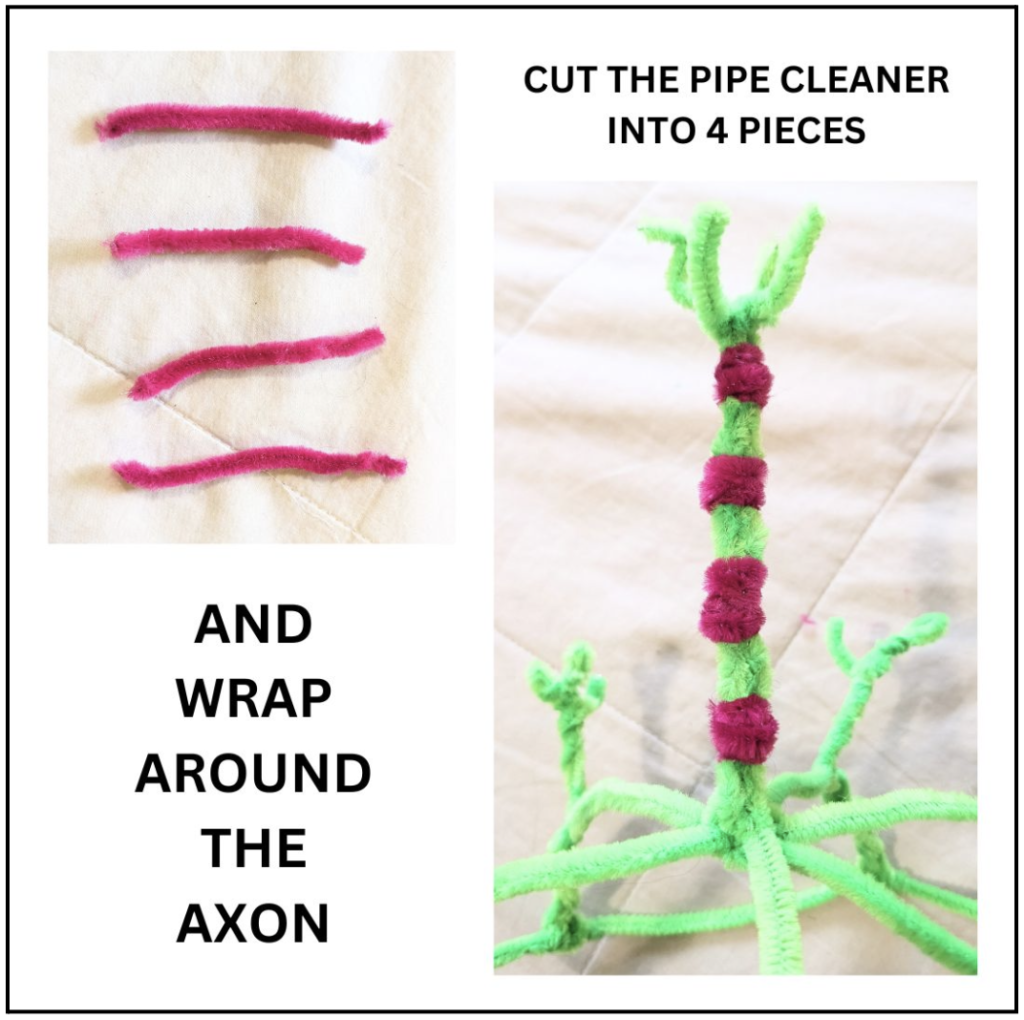
Step eight is where the final piece of the neuron hat puzzle is added.
Because this requires scissors, it may be easier and safer for the cutting of the pipe cleaners to be done ahead of time, depending on the students’ skill level. One pipe cleaner is cut into four even pieces that are wrapped around the axon to form the myelin sheathing. Using a color that is distinct from the axon color is helpful in distinguishing the different parts.
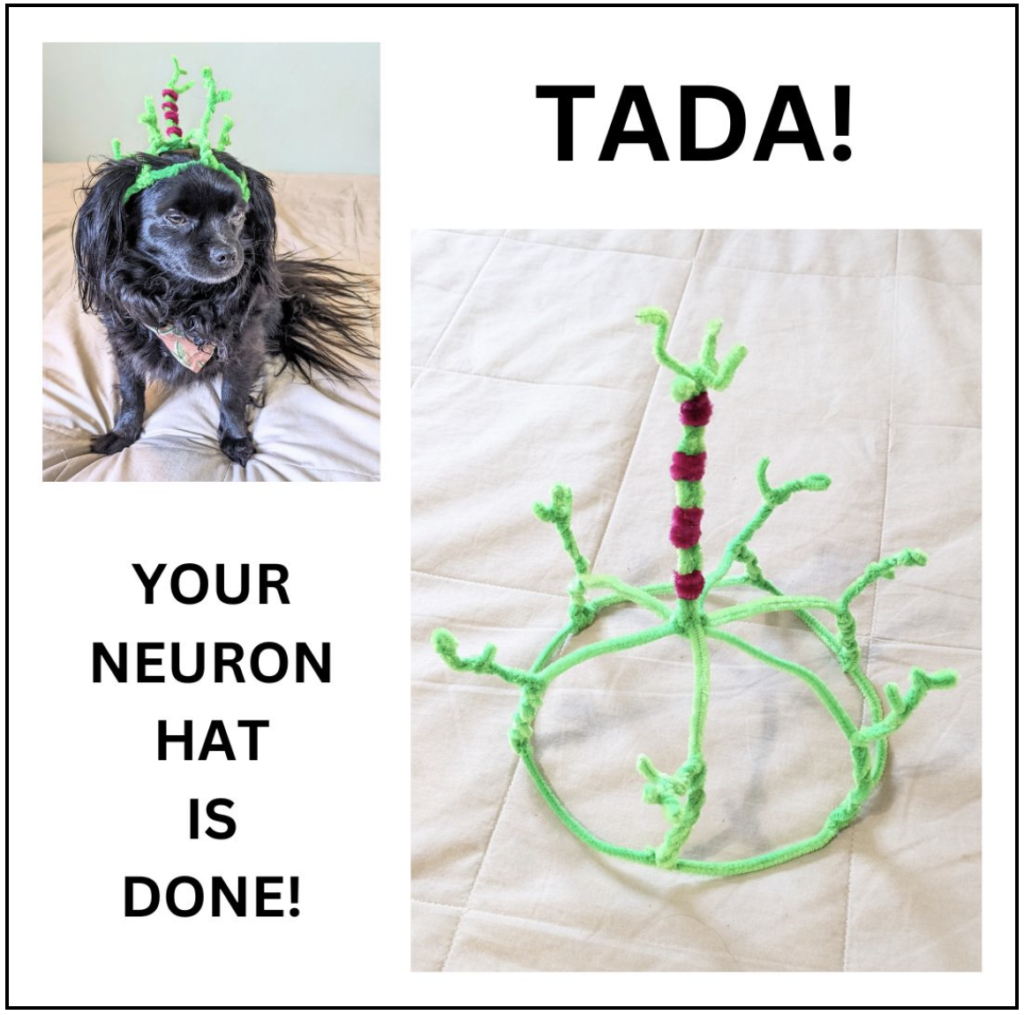
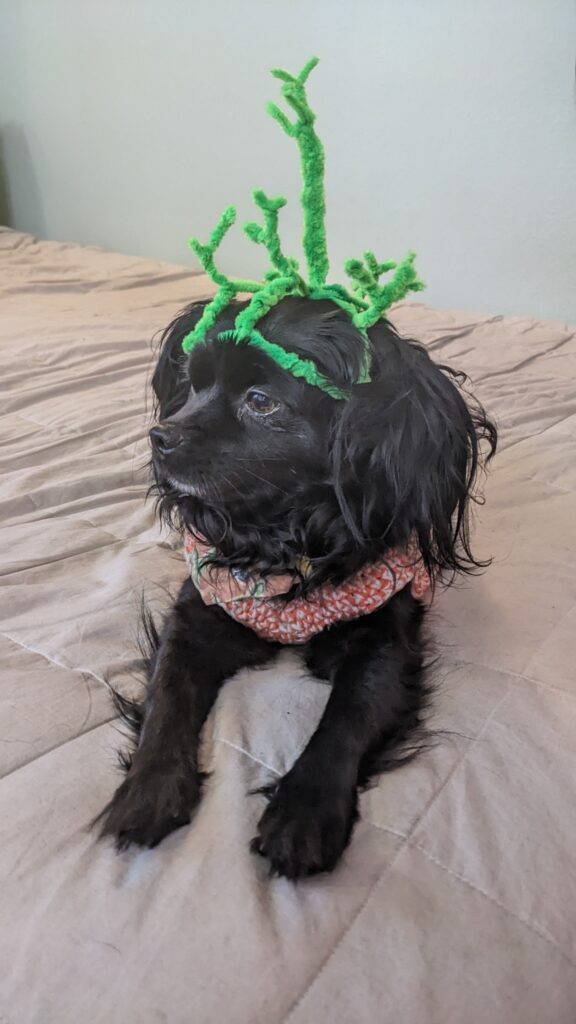
My dog Roadie not only serves as a signal dog, informing me of when a seizure is coming on, but he is also endlessly patient, allowing me to dress him up in various costumery. Here he is modeling the pipe cleaner neuron hat.
LEARN MORE: The Untrained Response of Pet Dogs to Human Epileptic Seizures
LEARN MORE: Dogs demonstrate the existence of an epileptic seizure odour in humans
LEARN MORE: Canine Olfaction: Physiology, Behavior, and Possibilities for Practical Applications